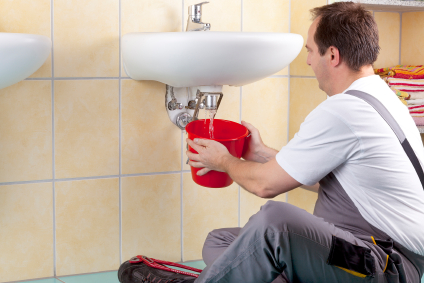
A dripping drain is a common problem that can arise anytime at home and cause great annoyance if not fixed well in time. Not only does a dripping drain cause concerns with water leakage, but can also dampen everything stored around it. Many people are in the habit of placing their dust bins just by the sink, and one can well imagine how much it reeks if water is allowed to seep in.
In times when a plumber is not available and you have the time to treat the drain, here’s the steps you can follow:
Things You Must Have for Plumbing Fixture Installation, Replacement and Repair
- Bucket/Towel
- Drain trap
- Plumber’s caulk
- Channel lock
- Pipe wrench
Fix the Drip Drain in Its Tailpiece
1. Get The Bathroom Cleared Of All Surplus Items
The first thing that you need to do before beginning to fix the leakage is to clear the space of all surplus items, which also includes clearing cabinets under the sink too. Firstly, this is done to clear space for easy working and secondly treating water the sink might spoil or damage bathroom items.
2. Separating the Drain Trap
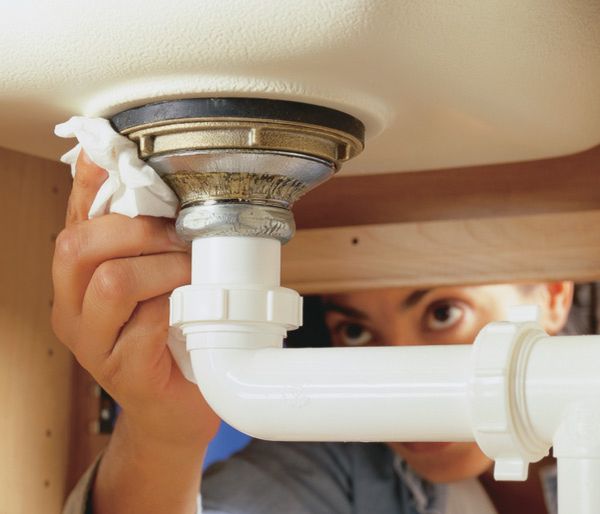
Now you have to separate the drain trap and let it drop underneath the bottom of tailpiece. You can do this by detaching the slip nuts with the connection point or even with the channel lock on the trap. You can even separate the drain control with a wrench and then remove the pivot rod and stopper from the opening.
3. Removing the Tailpiece
Simply, remove the tailpiece by unscrewing the nuts from the sink basin so that you clean it and then let it dry out for a couple of hours. Now strip off the previous coat of plumber’s caulk from the rims end and cover it with a new layer of caulk and let it dry it for some time.
4. Reconnecting the Drain
Once the new caulk layer seems dried of, you reconnect the drain while inserting the tailpiece from the bottom to its earlier position. Tighten up the tailpiece while sliding drain trap and slip nuts in it. Protect the tailpiece from further drippings with an extra coat of plumber’s putty on the outer surface and let it dry for a minimum of two hours.
Fix The Drip Drain With A Trap Replacement
- Similar to the previous section, you need to clear out the area under the sink for an easy access to the drain trap.
- Now, separate the drain trap from tailpiece and put it in the bucket placed under the trap. For this step you might have to unlock the slip nuts and PVC pipes so that the area for replacement remains in place.
- Now bring in the new drain trap and place it with the standing piece of pipe.
Precisely move the slip nuts to their earlier position and tighten them up properly.


0 Comments.