


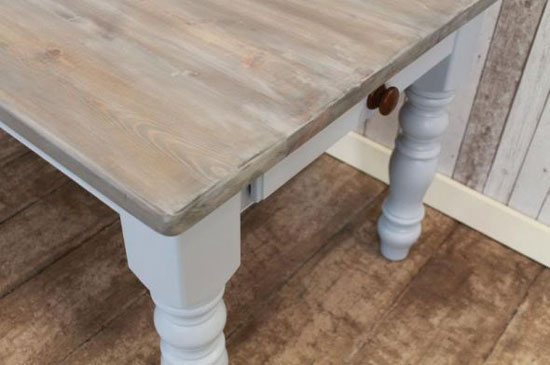
If you have some old furniture lying somewhere in the corner of your home, what are you thinking to do with it- replacing it with a new one or whitewashing it to bring back life to it? If replacing it with new furniture is on your mind, then you are just going to hurt your pocket because whitewashing your old furniture can entirely change the look of your furniture, bringing the same result as of new furniture.
Whitewashing is a perfect solution to save a huge amount of bucks and revive an old piece of wooden furniture while keeping the wood grain visible. No doubt, restoring an old piece of furniture is a time-consuming process, but you can definitely save your weekend to go ahead with whitewashing task. However, some finishes like French polish demands the expertise of handyman.
Whitewashing though is a simple technique for granting new life into a piece of wooden furniture that anyone can get great results with. However, whitewashing consist of few stages that requires proper technique in order to get desired results.
Tools and Materials required for whitewashing an old furniture
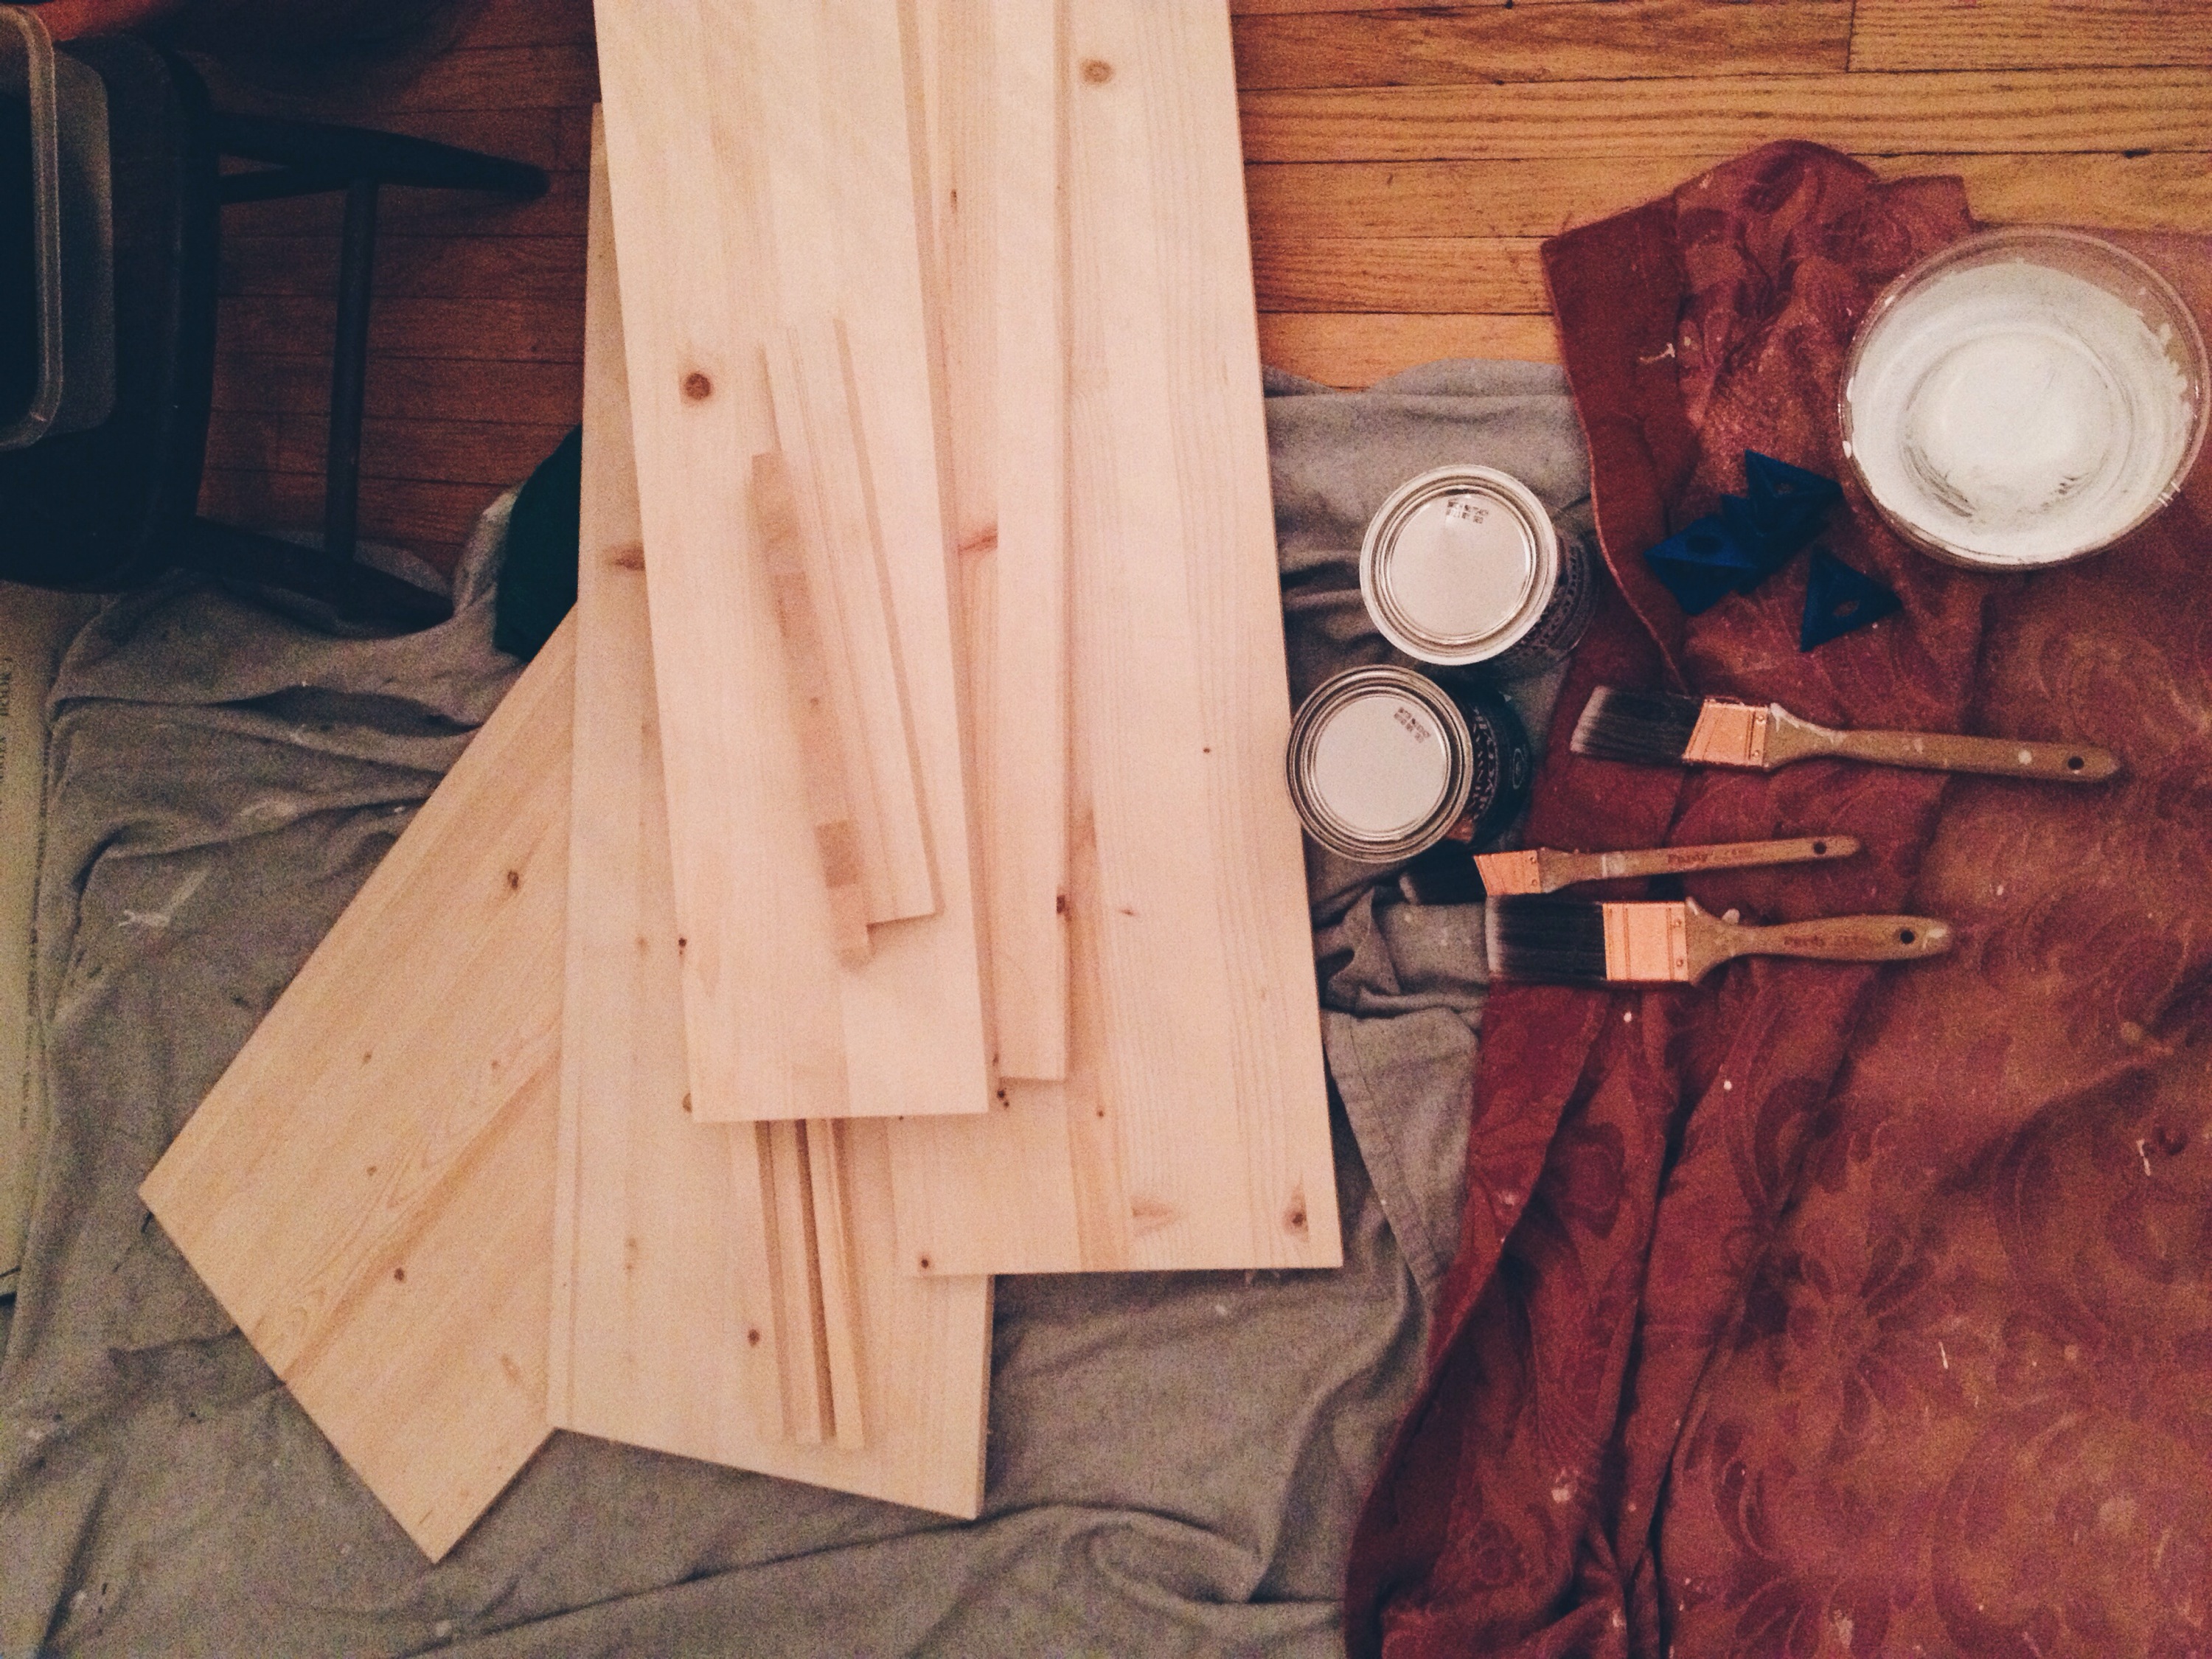
In order to initiate the whitewashing process of old furniture, you need to make sure that you have the following tools and materials gathered at one place:
- Water
- Rags
- Paint stirring stick
- Paintbrush
- White vinegar
- White latex paint
- Sandpaper
The process of whitewashing an old furniture
Let’s get started with whitewashing process of old furniture.
Step 1- Clean the furniture effectively to get rid of unwanted particles
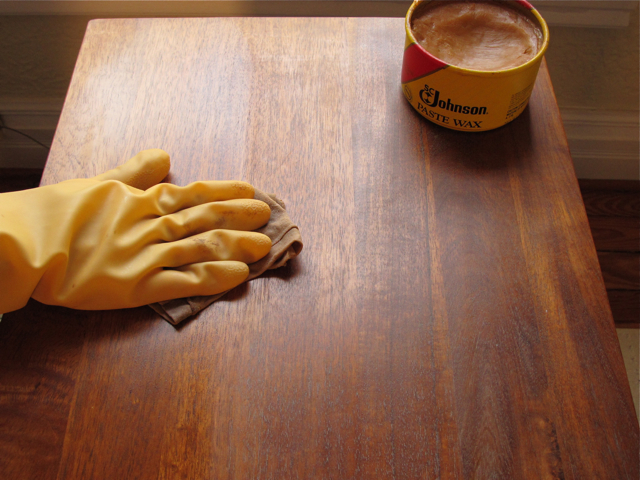
The wooden furniture demands a thorough cleaning initially. Make use of warm water that cuts through entire dirt, oil, and grime effectively. Lots of oil and other dust get accumulated over the wood in so many years. Once you are sure that all the dust, oil, and other unwanted particles are removed from the wood, get started. Make use of white vinegar and clean the wood with a rag. This will effectively wash away anything that you don’t need on the outside of the wood furniture.
Step 2- Remove the finish with the fulcrum of sandpaper
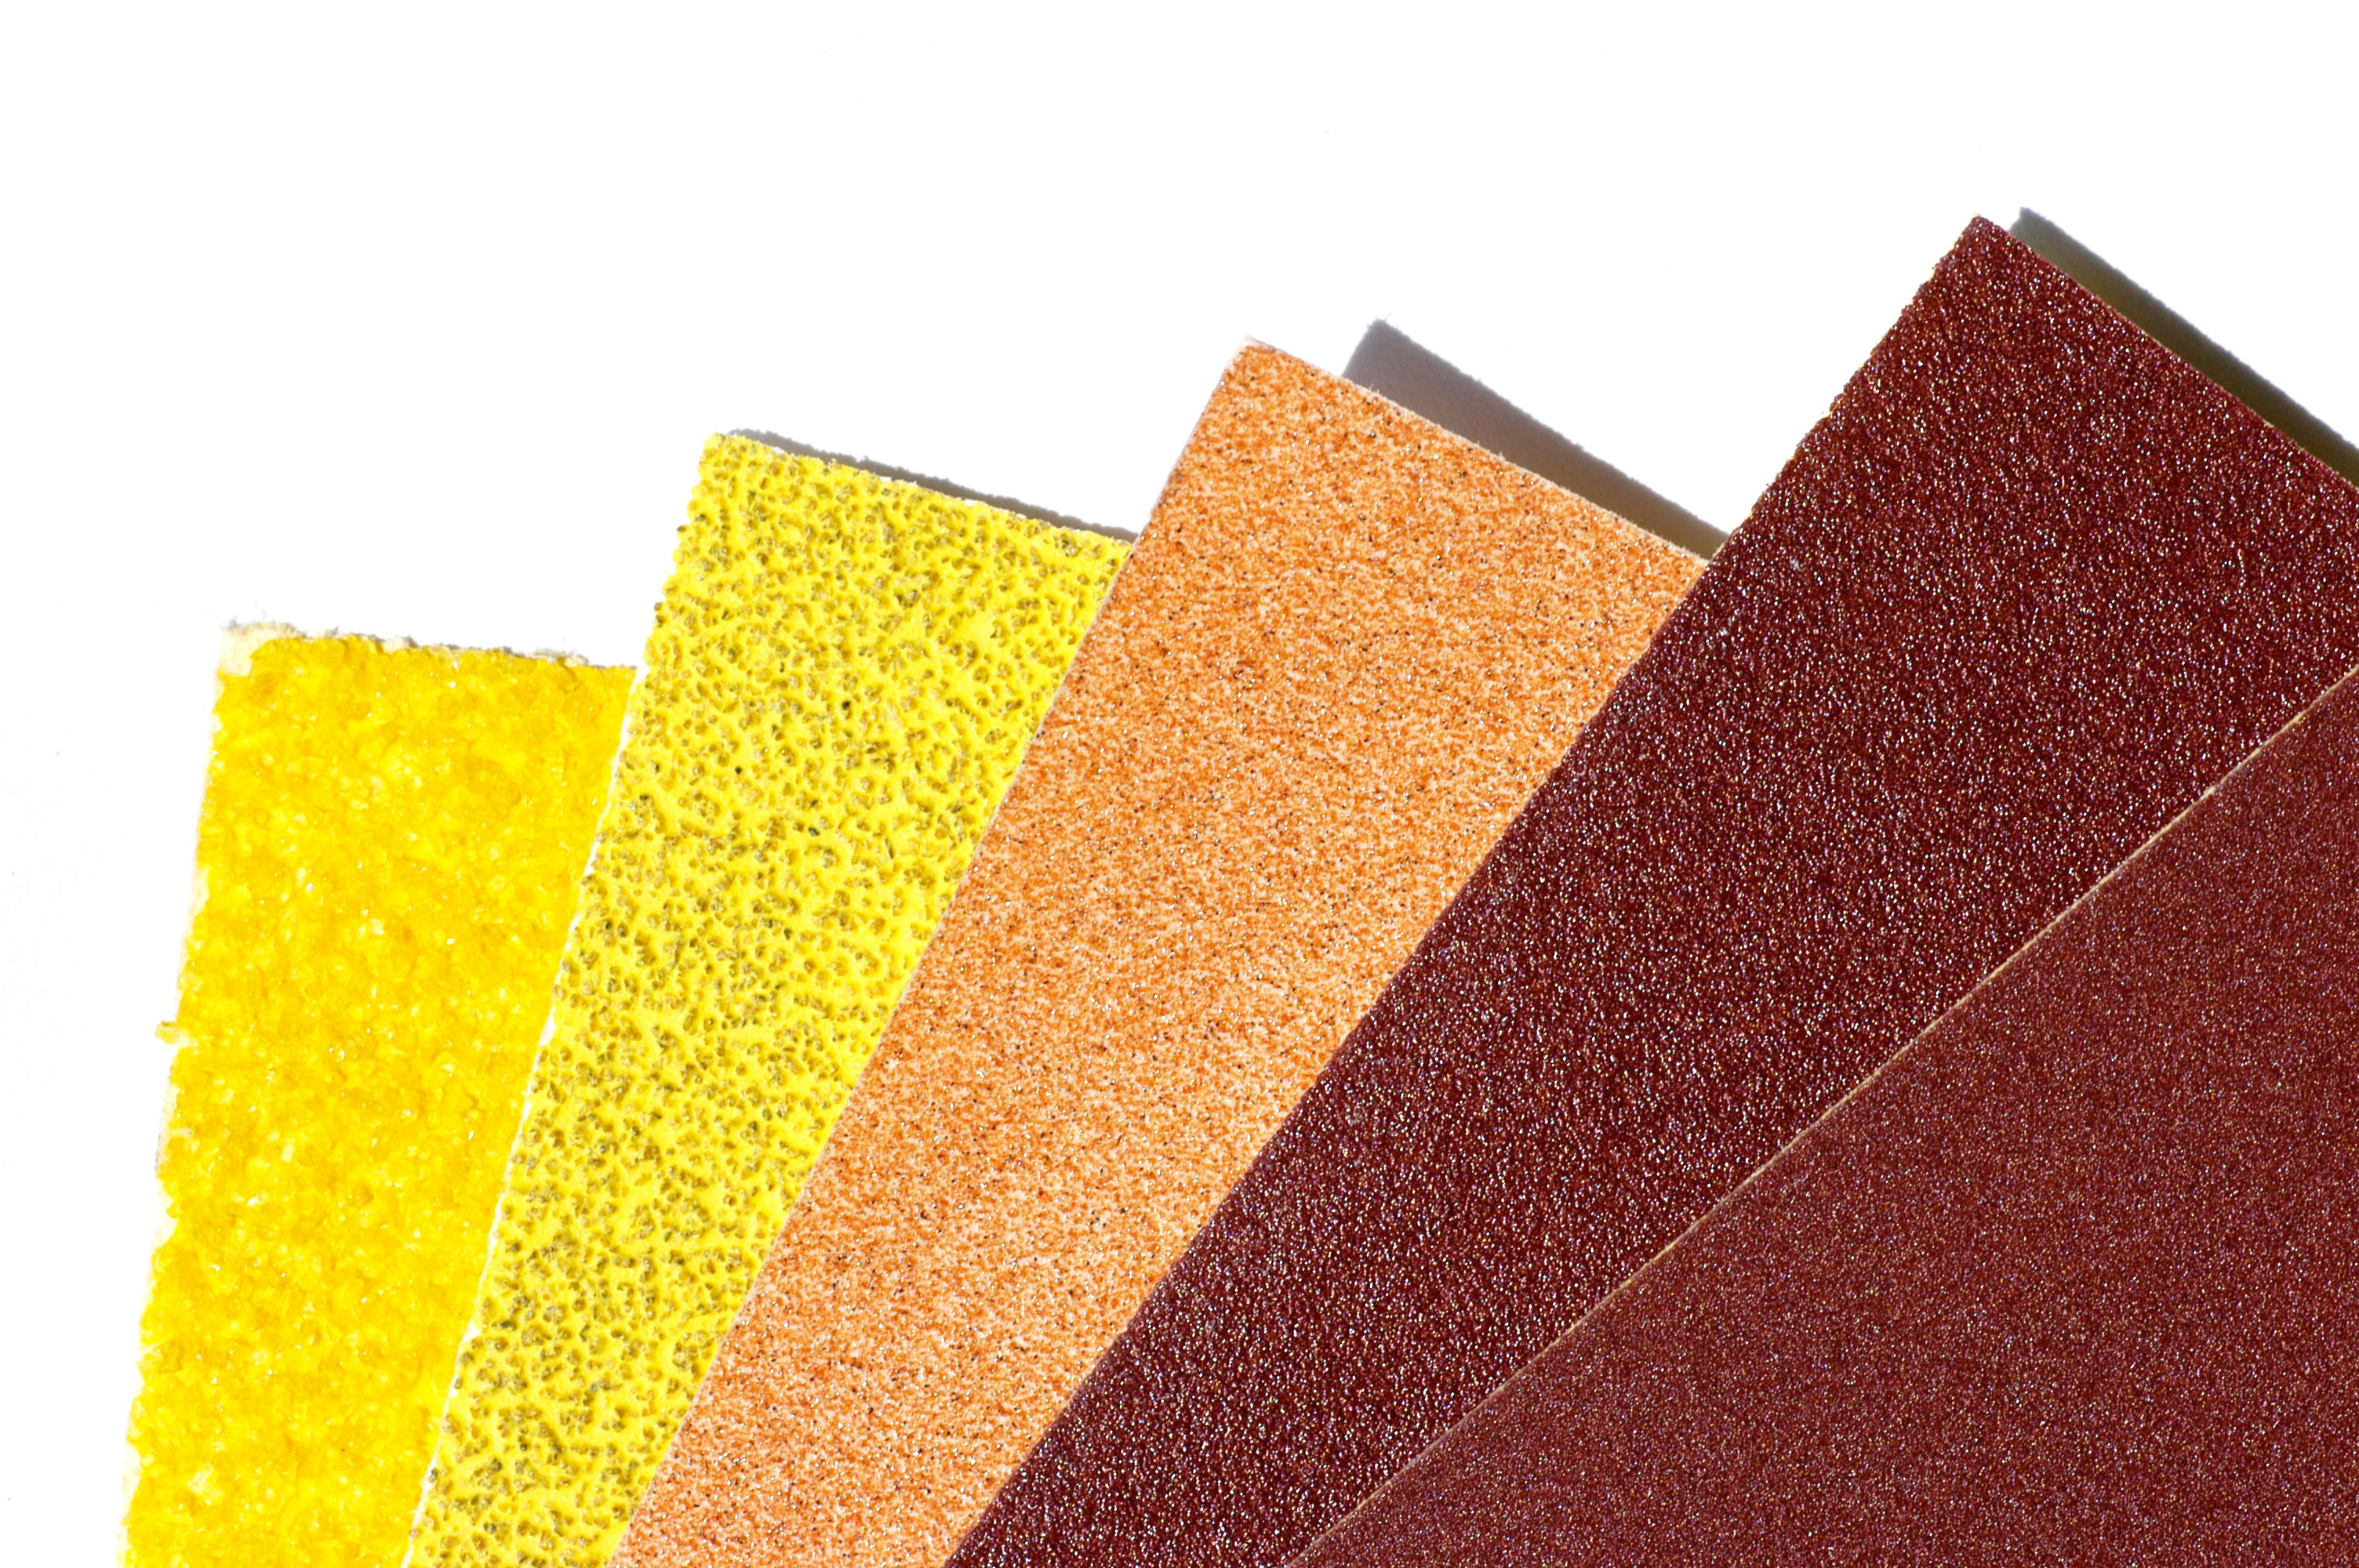
One you clean the entire wood and it gets dry, just sand the entire body to make it super smooth. You might have cleaned the entire surface of wood but you need to completely remove the old finish residing on the wood. For this purpose, you make use of sandpaper to get the actual looking wood. You need to make sure that nothing gets left on the wood- we need no polyurethane, stain or paint. Get rid of it with the proper application of sandpaper. Once you get the real wooden surface, the paint will definitely adhere to it.
Step 3- Completely remove the entire dust
Once the usage of sandpaper is over, step to the next step- cleaning off the excess dust. For that to happen, you have to just clean off the wood thoroughly so that the dust will not cause any hindrance in the way of the paint that you are about to apply in coming steps. This step is very important if you wish to achieve the quality level finish of paint.
Step 4- Completely remove the entire dust
This is the first step of the painting process. Just mix up the whitewash mixture and to make that happen, come up with an ideal mixture. A standard mixture is one part white latex paint and one part water. The other way to achieve the same solution is by adding as much as three parts white paint and one part water. You can customize the mixture if you don’t like the color. Just add more paint or water as needed.
Step 5- Start with the application of paint
Once you are ready with the mixture you have customized, it’s time to apply it to your furniture’s surface. Grab a paintbrush and start using it to paint the whitewash onto the wood surface. Make sure to apply the paint evenly and properly over the entire wooded area. Once you are satisfied with 100% coverage of the paint, let it dry for 4-5 minutes.
Step 6- Wipe the surface of the wood to achieve the desired look
Once you are sure that layering of paint has dried up, just grab the rag and start wiping the surface of the wood. This is done to remove the excess paint present on the wood and presents a truly, outstanding and beautiful look. Note that if you commit a mistake in wiping; do not put more paint on the wood. Once you achieve the look that you want, allow the paint to dry fully.
Step 7- Coat the paint for protection
Make use of some polyurethane clear coat and cover the surface of the wood. This will pave way for a finished look and protect the finish in the future.
Your time and money is a most precious commodity and to save them both, you can trust HANDYMAN NYC to fix little things in the house or apartment. HANDYMAN NYC deals with fixing little things like electric sockets of your bedroom to large projects like the renovation of your kitchen. So if you are looking for a handyman in NYC, you can trust on HANDYMAN NYC as they have experience in providing 24*7 quality handyman services in NYC.

0 Comments.