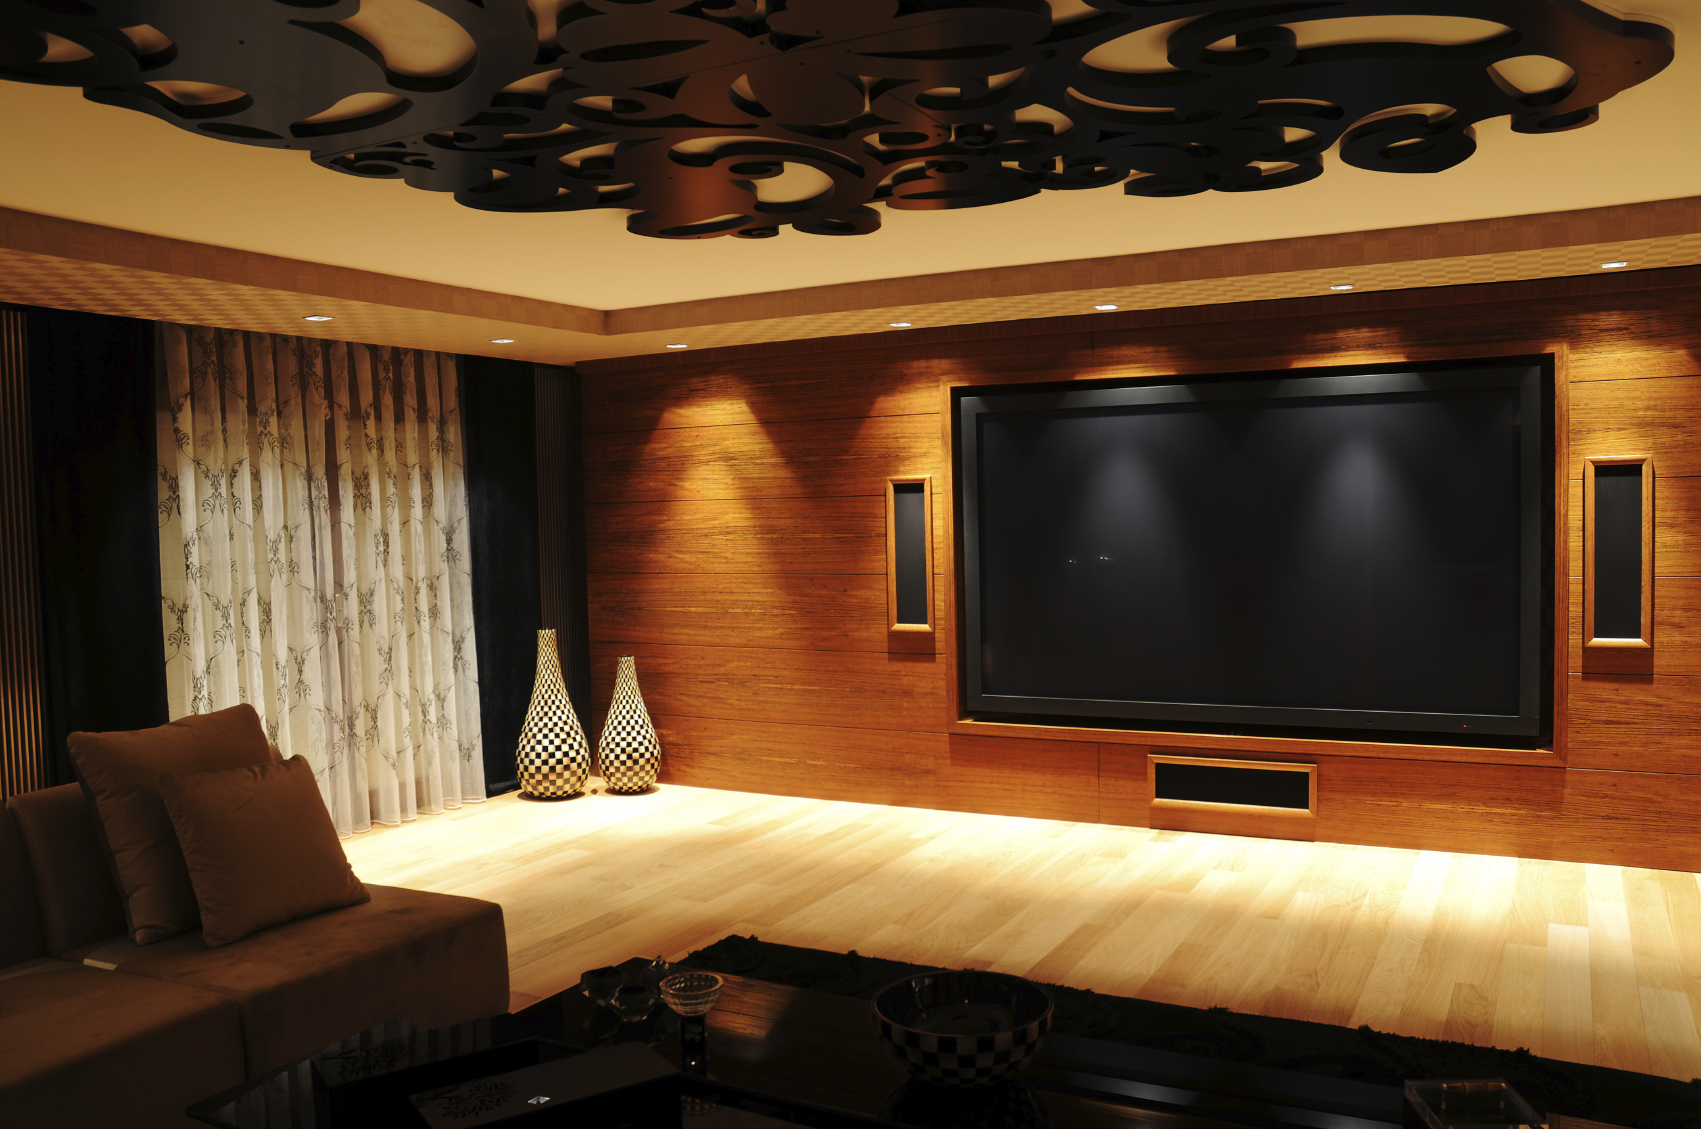
People who are on a limited budget or confident of their basic tech knowledge prefer to do the installation themselves. Those of you who are short on time and confidence can call a TV installation services in New York. If you follow the manual step by step and apply a little common sense an installation will be complete in no time.
Have a look at some ideas that you can keep in mind.

Keep the Parts Ready
You must stock up on the miscellaneous parts. This way you will save times and you project will not be delayed due to the limited resources. Have the following –
- Rca, Bnc adaptors
- Adaptors Y kind
- Spades, banana, pins – connectors
- A radio shack or an SPL meter
- Ample Bluetac
- Extra batteries – aaa, aa and nine volts
- Lengthy phone cords
- Cables which are Ethernet
Essential Tools
A home theater installation project in New York will be completed with the right finesse and durability, if you have the right tools for it. Make sure you have the following –
- A power screw driver
- Manual screw drivers for flat heads
- A saw for dry walls
- A set of Allen keys
- A bright flash light
- A sturdy wire stripper and cutter
- A soldering gun and spot
Start the Installation Process
Call over a best buddy for helping you out. You will save time and effort both. Preferably call somebody who has prior experience of installation. Open and start reading the manuals. Be very clear about the socket and cable details given in them. Open all the boxes and spread out the content box wise. Check the height of the goods with the height of the installation space. Install batteries in all the remotes and keep them aside.
Warranty Cards
Take out the warranty cards, fill them up and store in a clearly marked envelope.
Cables and Tools
Open all the cables and arrange them with the tools.
The Cabinet and Rack
Mark the locations of where you need to install your equipment clearly. Remember a wall that is solid and absolutely straight, will produce very little resonance and echo. Now load up your cabinet and remember to position the cables at the back.
Install the Speakers
Fix them in the designated spots and ensure that the cables are tight and secure. Leave the fine tuning for another day.
Start by attaching cables of the speakers to the receiver. Use a banana plug to connect the receiver end of the cable. Be sure to strip the cable wire properly and then install it in the cable. Ensure that the speakers are connected properly once and for all.
Connect Inputs
Connect the TV to the component cable. Next attach the DVD –Audio / SACD player to the 6RCA cables. The thing to keep in mind is that the right corresponding cable should connect to the right receiver. Connect the component video cable and the digital audio cable.
Programming of the Inputs
Follow the instructions and program the inputs on all your receivers from the source. Now insert a DVD and do run test. You should hear a clear voice form both the speakers without any crossing over.
Connection to the TV
The connection between the satellite dish and the TV should be direct. This is essential for times when you only want to switch on the TV.


0 Comments.