


Checkout more for details!
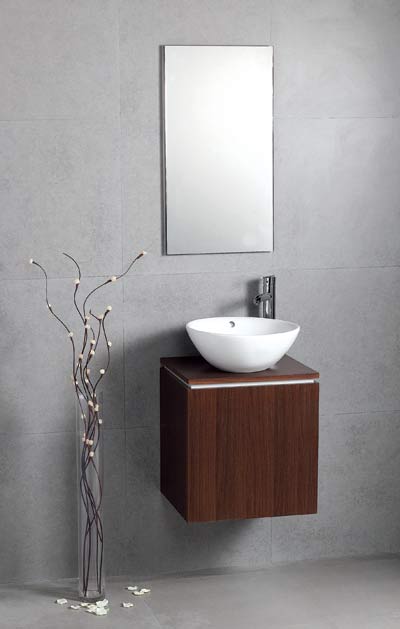
You landed here because you are in love with those beautiful wall mount vanities, right?
Want your bath space to appear more stylish and classier?
Then you can add them to bathroom without a second thought!
Before starting anything, I would like to reveal how I got an idea to write this DIY project (hope you have patience for that).
Last week, I visited my friend in Manhattan who was busy with his tools to install the wall hung vanity. It evoked my interest and I joined him too. With some simple steps, we two finished the “mission” easily, without any professional help.
You too can also do it. It is very simple, time-saving and not so laborious.
All you need to follow these DIY steps to install wall hung vanity in your bathroom:
You Will Need…
- Stud Finder
- Drill
- 2×4 Inch Lumber
- Hammer
- Pencil
- Screws
- Brackets
- Nails
And Patience…
STEP 1: Locate the Wall Stud:
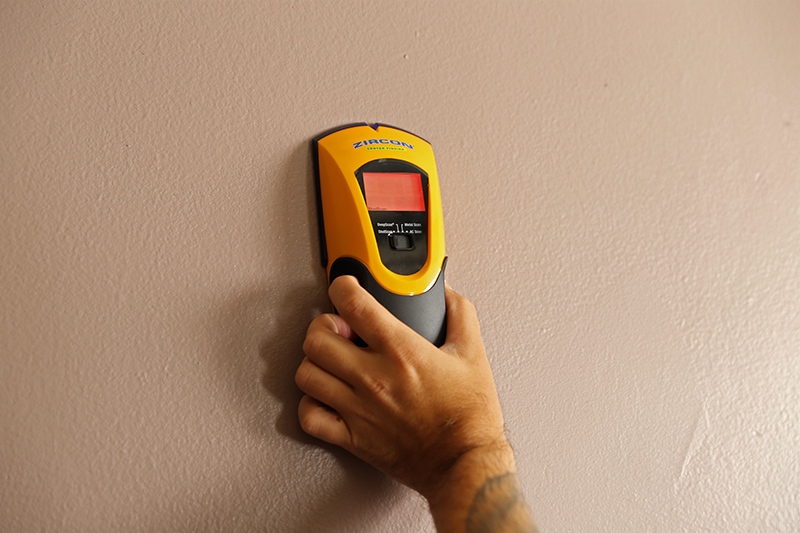
Image Credits : joesdaily.com
Start your project with searching the studs in your wall, which can be used to hang up the vanity properly. A wall stud is the wooden vertical framing in the building’s wall which can be located by just knocking on the wall. To locate the presence of a stud you need to indentify the type of sound produced when you knock. Simply, a solid sound means – stud is there!
Alternatively, you can use a stud finder if your ears can’t catch that sound.
STEP 2: Mark the Wall and Cut a Horizontal Hole:
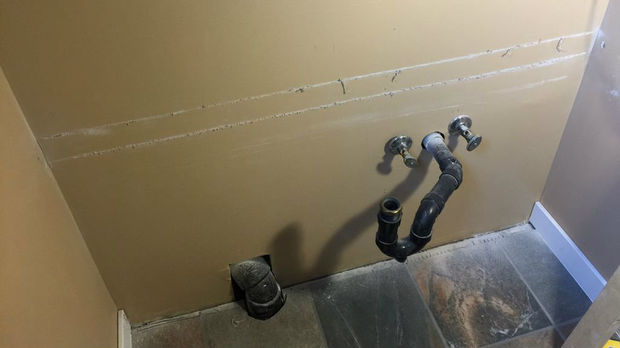
Figure out the height at which you want to place the wall vanity. You need to cut a horizontal hole of your lumber’s size, at the wanted height. Remember, cutting of the wall should be done precisely to avoid any damage. After cutting out the hole, you can see the vertical studs.
<i
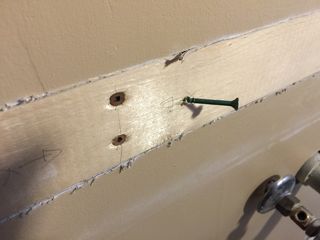
STEP 3: Mark the Position on the Wall Studs:
Use a pencil to make vertical mark on the wall (where the studs are located). Make sure to keep the mark at the center of the stud for maximum holding strength.
STEP 4:Fix the Lumber in Place:
Now, it’s time to fill that horizontal hole! Place the lumber into the hole and use screws to fasten it to the walls. Make sure you use screws on the areas where you have put the vertical mark (on the wall studs).
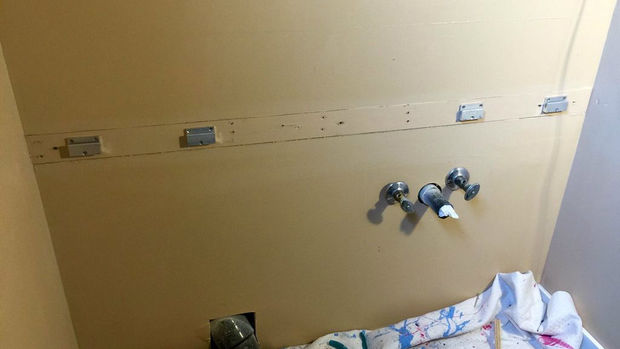
STEP 5: Place Vanity Brackets:
Congrats! You are already done with 50% of the task.
Mark the holes on the lumber for the brackets supplied with vanity. Use drill machine to make holes on these marks. Now fasten the brackets together with the screws.
STEP 6: Mount the Vanity:
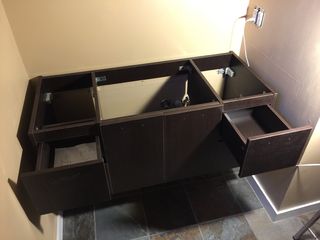
You are just a few “screws” away from a successful installation. Carefully lift the vanity, and slide it into the spot against the wall. It is better if you take somebody’s help to lift the vanity. Make sure you keep the vanity in the positions being marked out on the wall. Drive the wood screws through the back of vanity where the stud locations have been marked.
Once you are done with these simple 6 DIY steps, you will see a beautiful wall hung vanity accentuating your bathroom’s look.
Lastly, don’t hesitate to hire an expert if you face any complication during the installation (or when you have messed up the things).

0 Comments.