


There would be many DIY projects that you must have undertaken. Probably you may have made a table lamp too, but one thing that you wouldn’t have tried is, creating something with assistance from a handyman in NYC.
This is where my version of the Steampunk lamp is different from other DIY lamps you would have seen.
For the project, I’d like to thank my friend, a plumber in NYC and his plumbing service in NYC that provided me with tools and parts (pipe handle) required for my lamp.
Though, this lamp that I have made could be called by any name, but I chose to name it the Steampunk Plumber’s Luminaire, just because of this helpful plumber NYC (my friend) and my fascination for Steampunk.
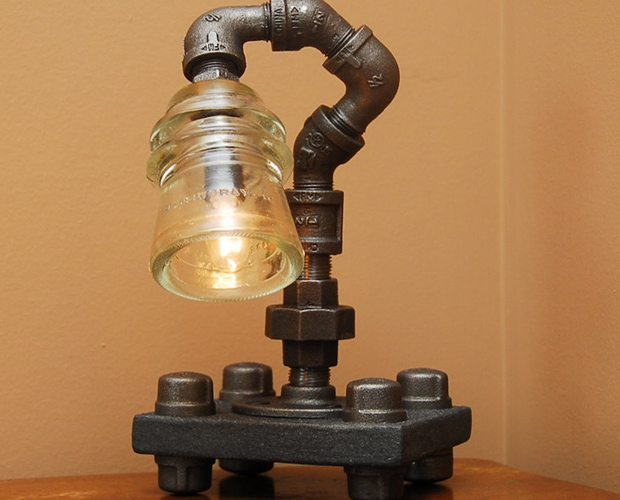
The desk lamp is an outcome of two old lamps salvaged from the scrap store in New York. The best thing I found in one of the lamps was a fancy looking brass base. Read on to know how I created the steampunk lamp.
Things required
To transform old fashioned lamps into modern-looking functional art piece, you will need expertise of a handyman and:
Pliers, power drill and bits, copper color spray paint, masking tape, lace curtain and buffer adapter. Along with these tools, you will need two old lamps and a water pipe handle.
Begin by disassembling the lamps and choosing the necessary parts
When it boiled down to making the lamp, I began by disassembling the two salvaged lamps. It was easy to disassemble the lamps using pliers, wire cutter and a screw driver.
When you have all the parts separated, you can begin by selecting the things that you will need in making your own lamp. If your wit isn’t helping too much, you can consult your handyman. These guys are really helpful.
As I told you about the brass base – I knew I would be using it from the very beginning. I took the base, some screws and other necessary parts and chose a water pipe handle, which I would use to turn the lamp on or off.
Prepare the base
From the appearance the base looked solid brass, when I began drilling it, I realized it was faux-brass base – but then it solved the purpose and I’m happy to say, it was easy to drill too. I had to drill the base to make a hole for the lamp arm, the base previously had only one hole for the switch – which even I will be using as it is. I finished the base to look steampunkish by polishing it in brass color.
Paint the lampshade (picked from the old lamp)
There are endless ways how you can paint the old lampshade. In my case to make it look more Victorian, I tried something different. With an old lace curtain, I tied the lampshade – holding it secure with some masking tape, and then I sprayed it with copper metallic paint, after it dried, I did a little bit of detailing and there the lampshade was ready for my steampunk lamp.
Finish the job
Fix the base and the lampshade with a lamp arm and correctly fix all the wiring to ensure the lamp is in working condition.
Make sure the lamp arm you’ve selected is dressed and steampunk shade. Now, place the water pipe handle on the base – where an on / off switch would rest otherwise, and connect it with the wiring.
There you have your own steampunk plumber luminaire ready for use. Place it any corner of the house and be happy with what you have made.

0 Comments.