


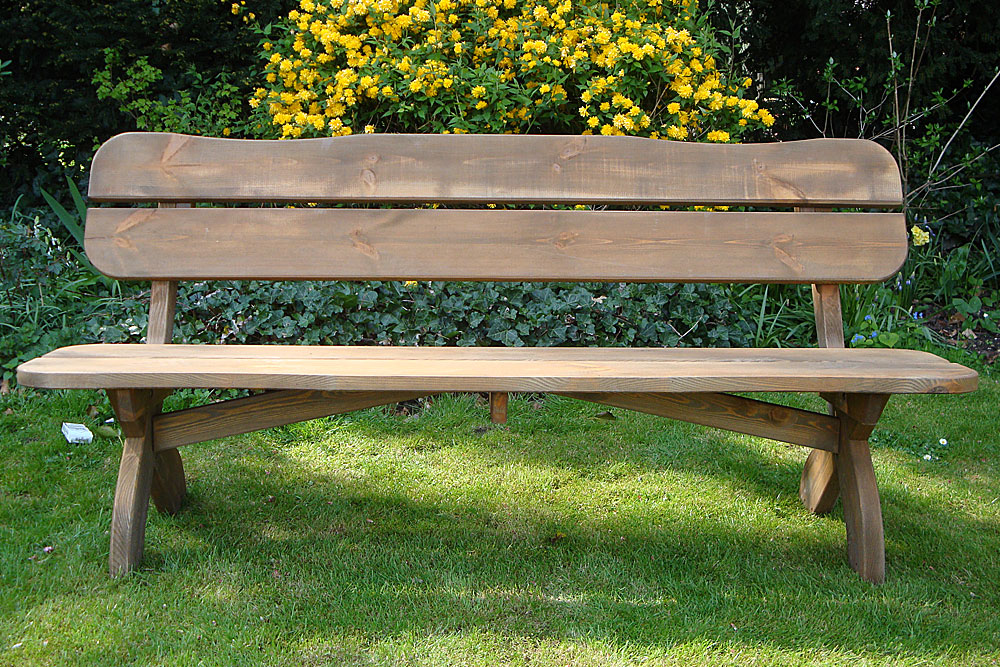
When a DIY-er wants a place to sit in the garden, he build’s himself a simple bench with great detail for a timeless appeal. Case in point this unused old bench, which I refurbished into an all new bench.
This refurbished bench is easy to replicate, any one with little carpentry experience can make this good seating unit for the garden or backyard. In this article I will take you through the process of making a similar bench from an old one.
Finding an old, begotten bench can be a task to start with – I was lucky since my uncle, who lives a few lanes from my house had one of these benches lying idle in his garden. On request, he was happy to part with it for free, since the bench was only an eye sore in his otherwise amazing garden.
Starting with the bench wasn’t at all easy. Getting the bench to my place took a toll; I had to dismantle its parts to fit into the vehicle so that it could be carried.
Tools I’ve used:
- A measuring tape
- Table saw
- Drill
- Table router
- Miter saw
- Orbital sander
Materials required for executing the job:
- You will need 2 large cedar wood boards
- Black matte spray paint for iron bars
- Marine grade spar varnish (because the bench is going to remain outdoors in all kinds of weather)
- Lots of nuts, screws and bolts
Begin by cutting the boards to size and clean iron of rust
Using a measuring tape, measure the length and width of the wood planks that will be required in the bench. In case you don’t have tools, you can contact NY handyman Then cut the cedar boards at desired length using a miter saw so that the planks are easier to handle on the table saw.
The length and width of the wood planks will depend on the size of the bench you have. You just need to ensure you cut the board for both the seating area and the back.
Spray vinegar water and dish soap mixture onto the iron parts of the bench (presuming they are rusted and you will be using the same in your bench). After its dry you are sure to get rust free iron good for your new bench.
Sanding the planks and routing
Wood you know, needs to be sanded to smoothen out its surface. I sanded all the cedar pieces I had cut thoroughly with sandpaper and orbital sander until all the rough patches were gone.
I had spent a great deal of time selecting the size of the boards and I wanted haste the process hereon. I decided to create rabbet joints in the wooden boards, to ensure they held firmly even without nuts and bolts.
On connecting the planks together I realized the iron rest for the back wasn’t completely square – it had access iron which was making it difficult to slot the back iron into the rabbet joint. So, I shaved off the access iron to make it square using a router and wood chisel. Then I finished the dry fit.
Drilling and fixing
With how the bench would look once finished right before my eyes, I was more than elated. Nothing could stop me now. Using the old bench boards as a template, I drilled all the necessary holes in the wooden boards, and sanded each thoroughly to look and feel smooth. Then using a dry cloth I got all the residue dust off the bench.
Paint and polish
Since marine quality spar is the best choice to protect cedar from elements, I chose to spray paint the bench with the same (three coats were good for a fantastic finish). Next up I used black matte spray paint for iron bars.
Clamp, glue and screw all the lose parts of the bench together and, there you have a striking looking bench ready for your garden.

0 Comments.