


The lush greenery adds to the beauty of your garden. Kids can play on the grass while it feels wonderful to walk on barefoot.
Contrary to the popular belief, you don’t need costly lawn service to bring greenery into your garden. It is not a hard work either. You can create a beautiful lawn on your own.
All you need some tools, quality grass seeds, and a bit of patience. If you are ready with these things, here are some simple DIY steps for sowing grass seeds.
(Note: The best time to plant cool-season grasses is in early fall or spring while warm season grasses should be planted in early summer.
- Choose hard wearing grass seed for sports, evening entertainment, and kid’s play. Ornamental lawn seeds are best if you are looking for a beautiful garden.)
Things You Need:
STEP 1: Clear Off Debris, Stone and Weeds:
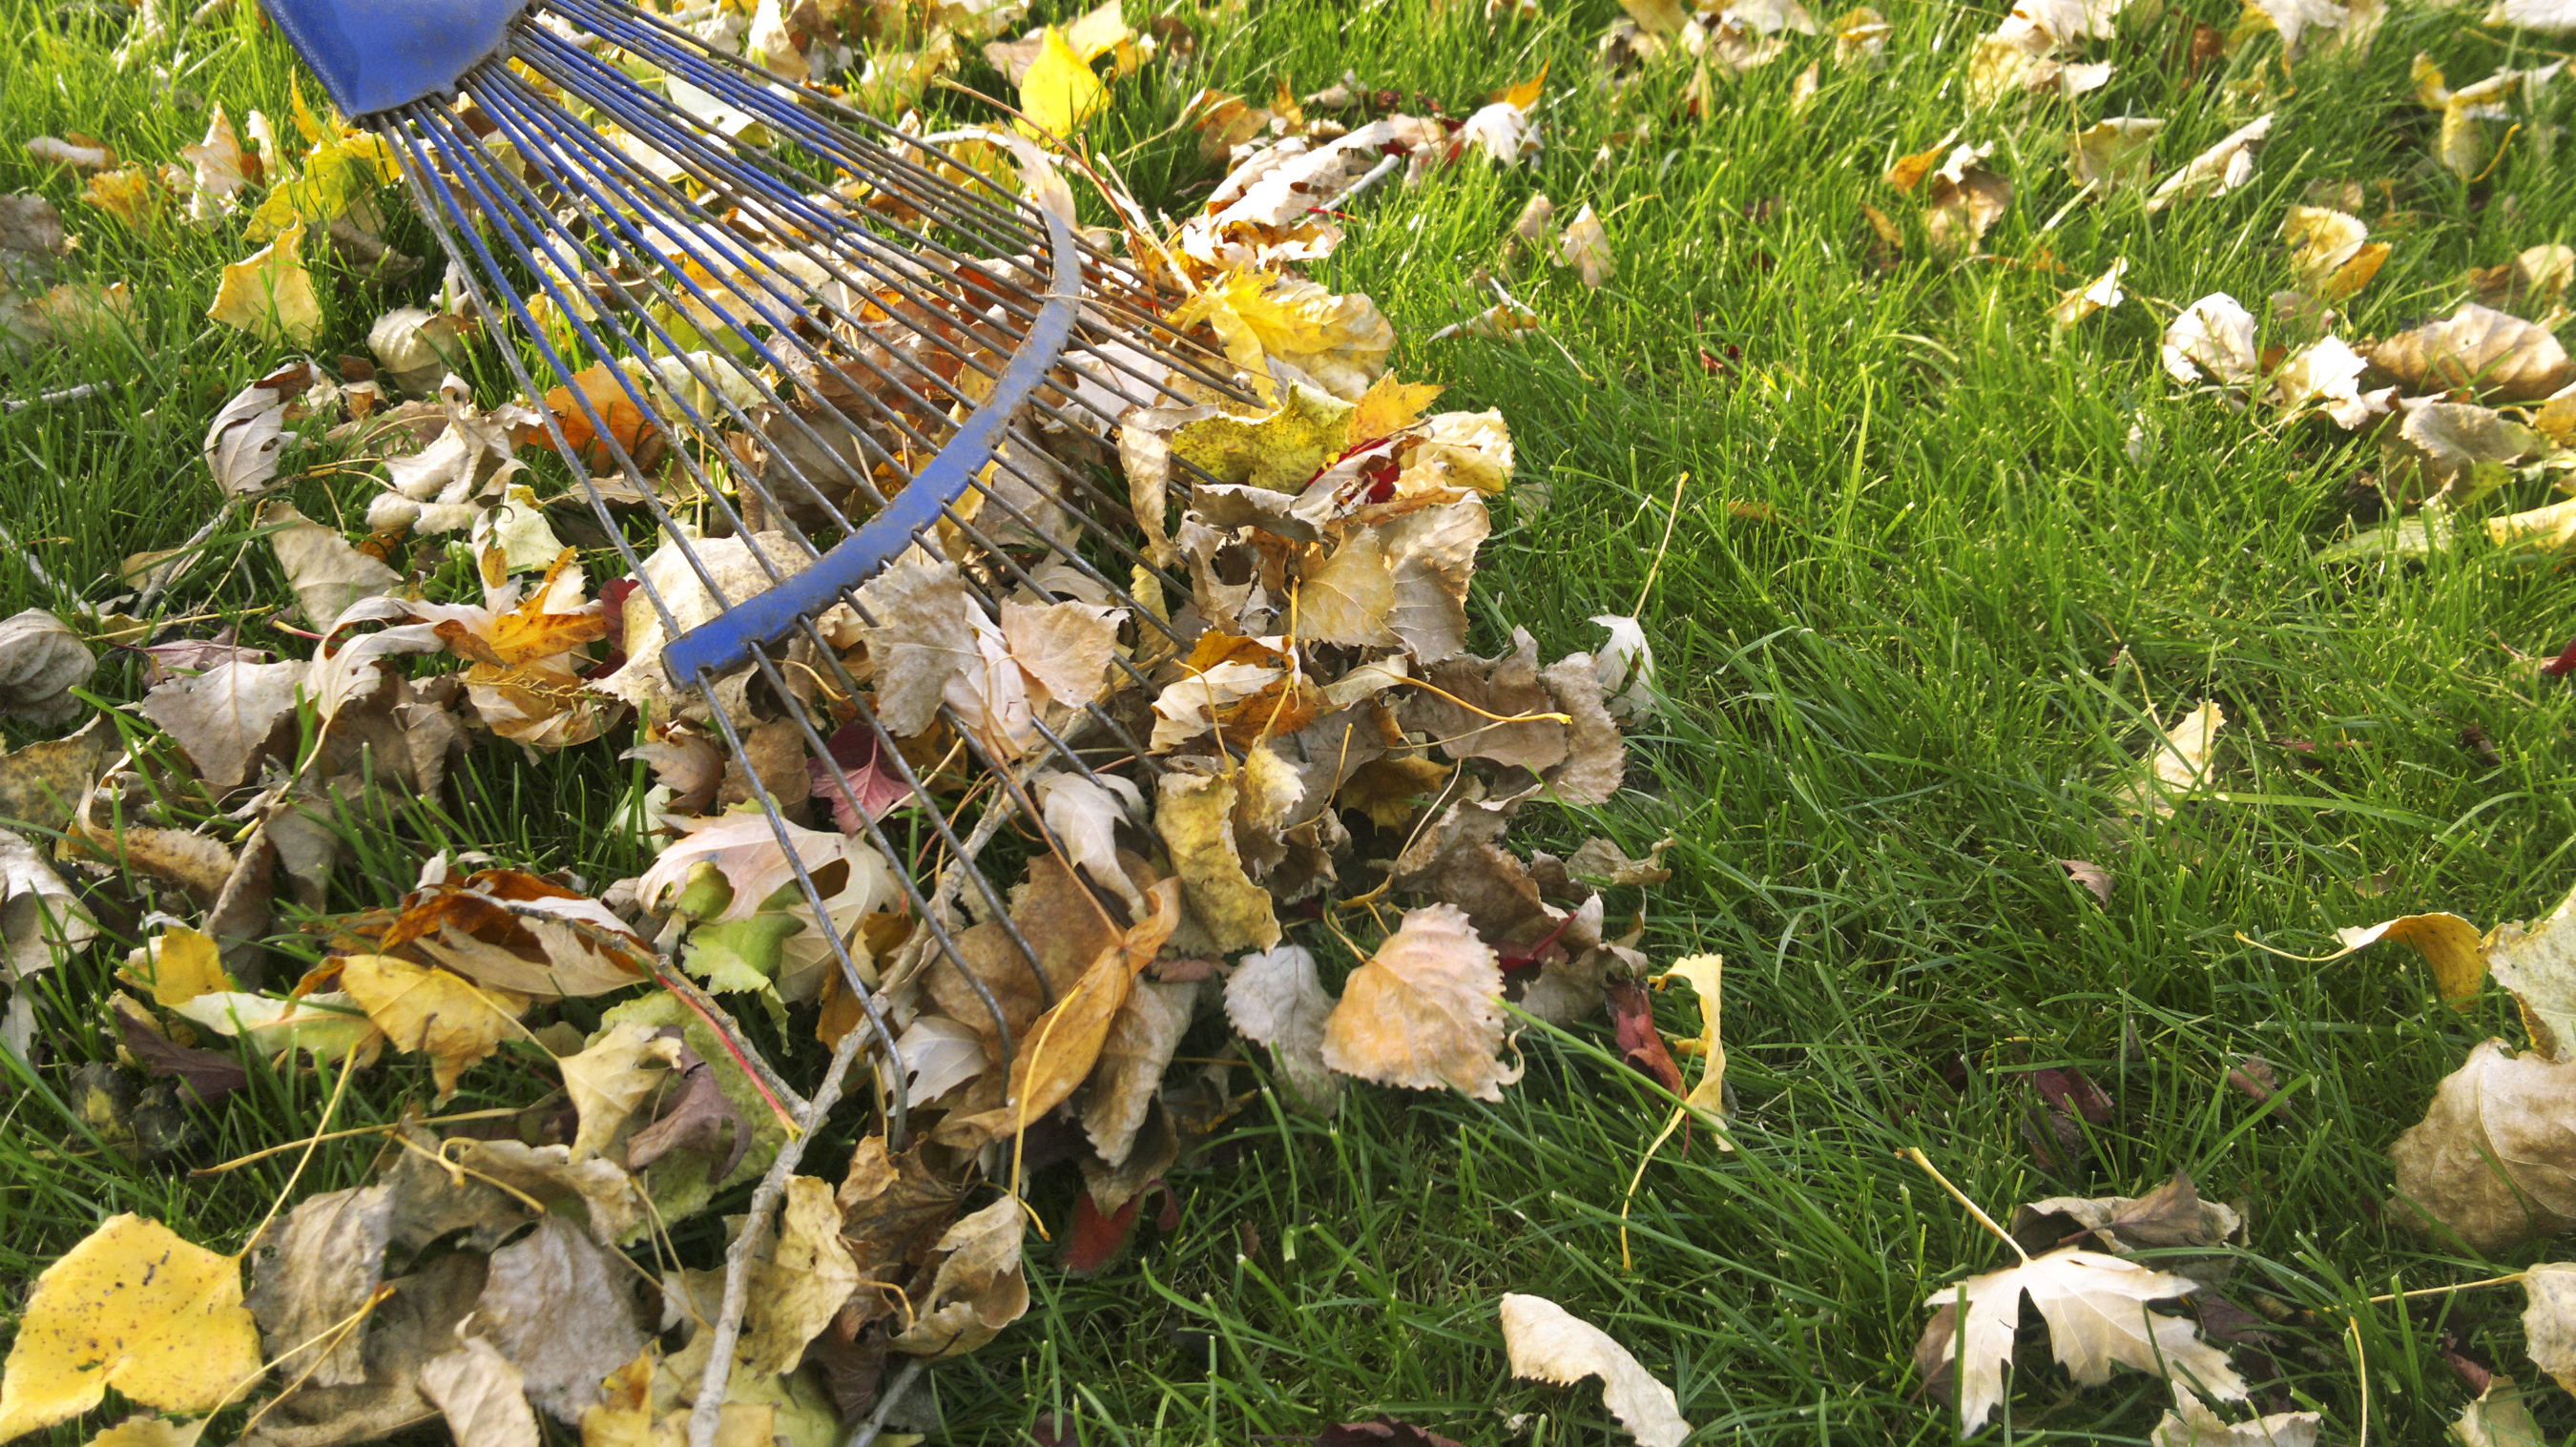
- Prepare the site by clearing off debris, stone, and weeds.
- Use weed killer to remove stubborn weeds.
- Use a garden fork to dig over the entire site and mix in compost.
Leave the site for 1 week, and then remove all dead weeds.
STEP 2: Even the Surface:
Use a garden rake to make the surface even. Break the big chunks of soil down to pea-sized particles. Try to keep the soil level 10 mm below your edges to let some turf grow.
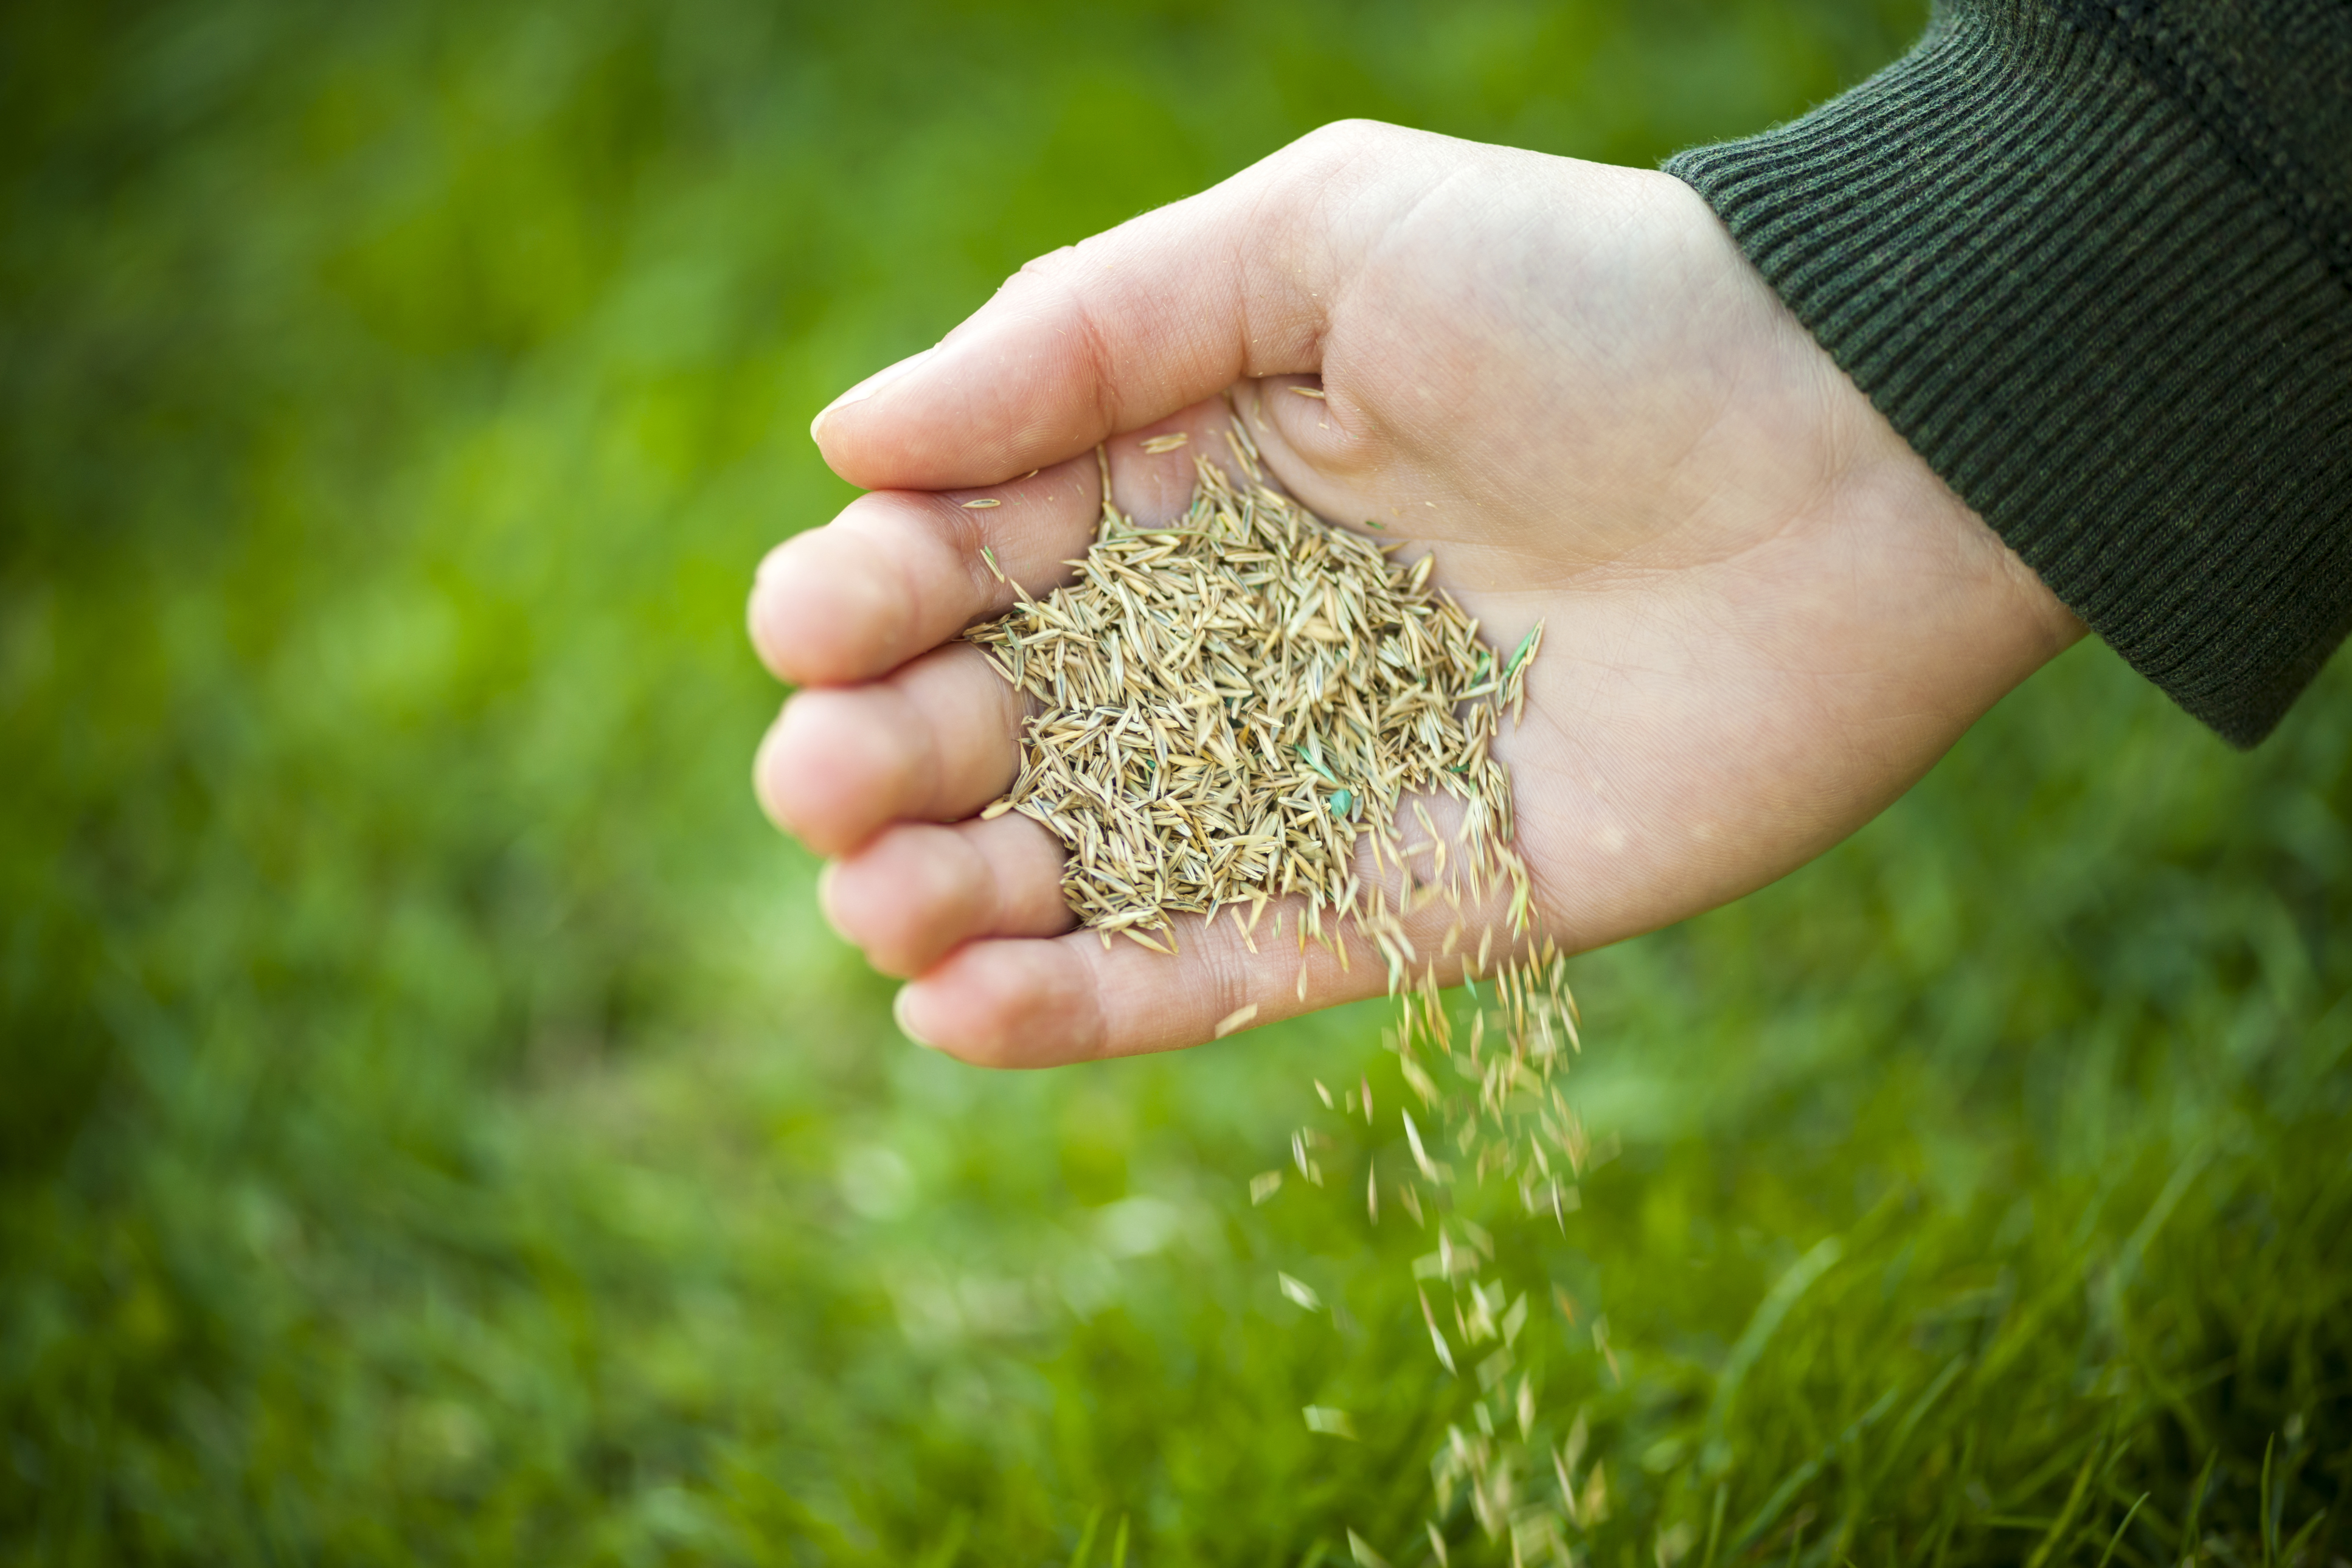
STEP 3: Sowing the Seed:
A spreader is a good way to sow the seeds evenly across the site. For large areas, consider using either a broadcast or drop spreader to cover the site equally. Hand spreader is great for smaller areas.
For an easy spreading, divide the seed into two equal portions. The first portion would be sowed in a row. Then, start with the second portion to the first one. Do this to crisscross the whole lawn.
If you don’t have the spreader, consider making a square with bamboo canes. Get it on each portion to spread a measured amount of seed within it. Repeat the process until the entire spot has been covered.
STEP: 4: Tamp the Seed Down:
In this step, you will tamp the seed down. It is an important step as it prevents erosion and protects the seeds from the birds. Tamping can be done by using a roller. If you don’t have a roller, use a tamping tool.
STEP 5: Watering:
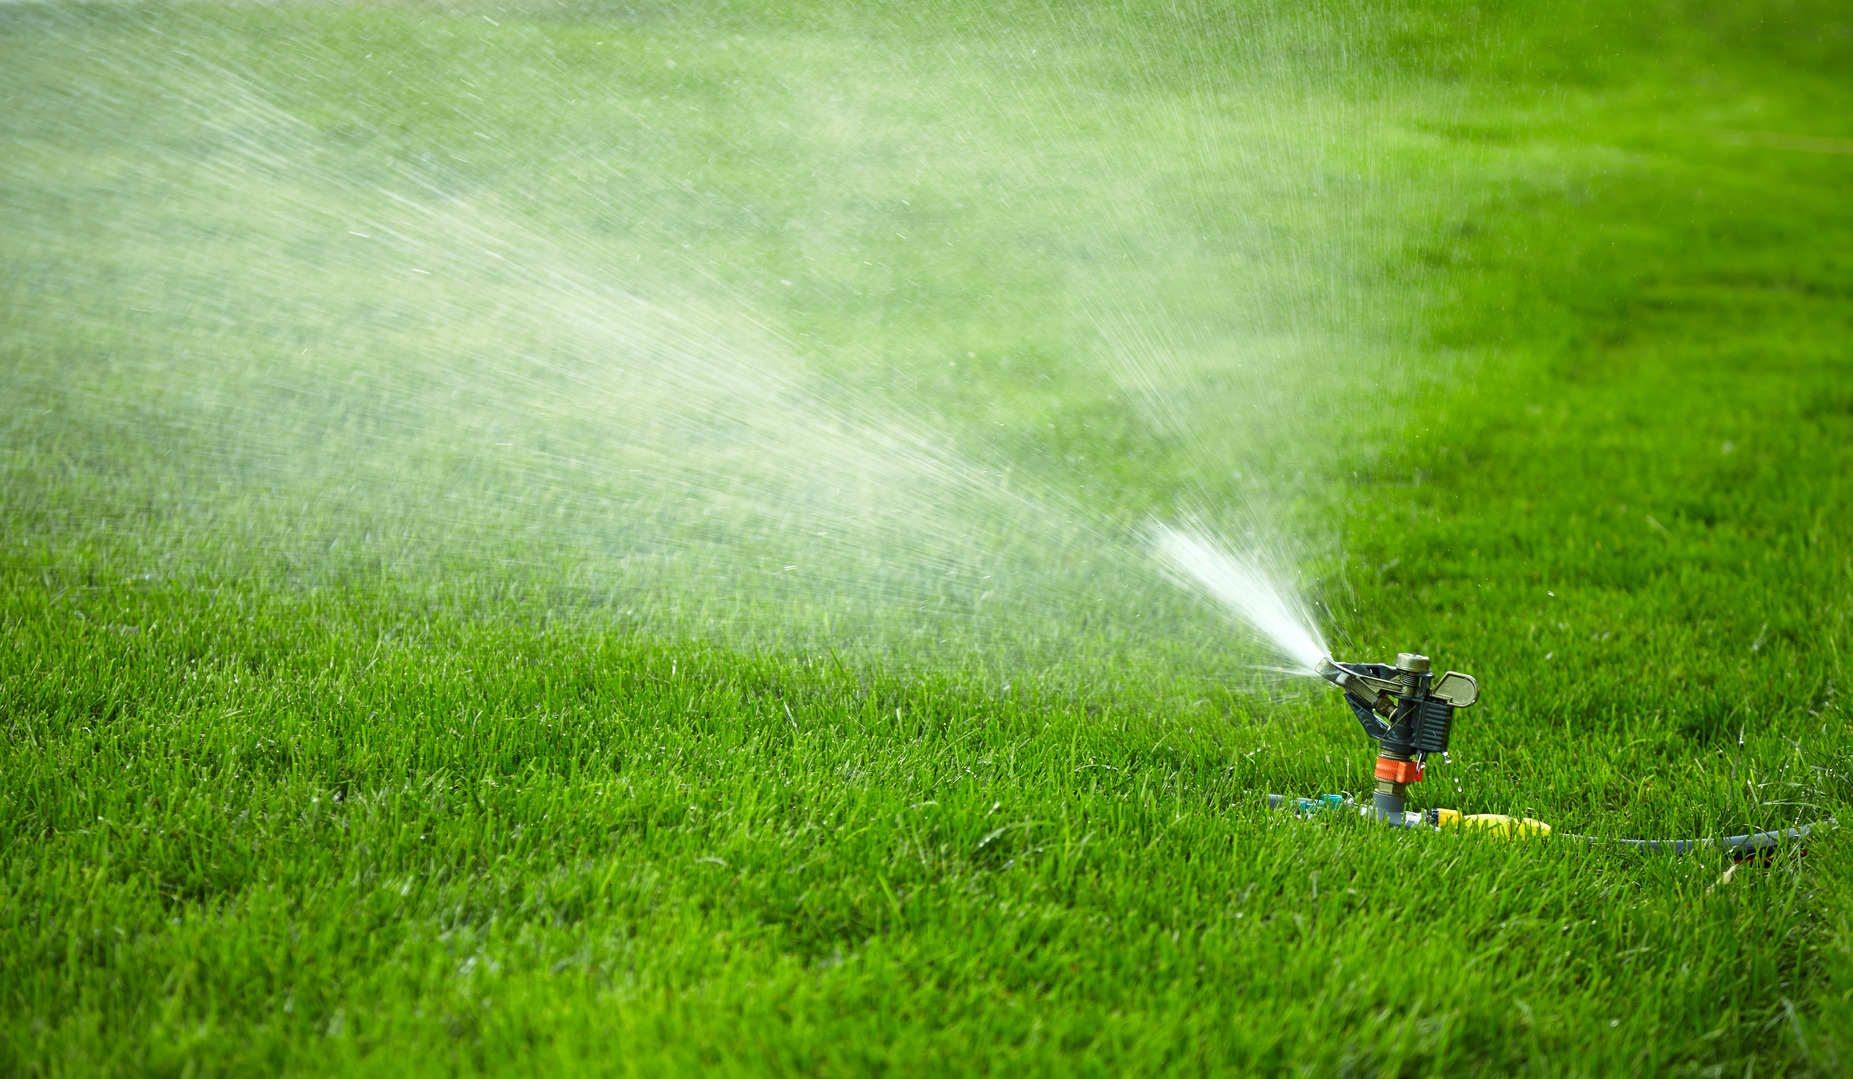
This is the time to water your newly laid seeds! And here are the directions to do that…
- The soil should be soaked 6 inches deep IMMEDIATELY after seeding. It can be done with a sprinkler or hand sprayer with a mist setting.
- Watering should be done four to six times daily. The hotter temperature requires you to water more often.
- Use ordinary sprinkler or sprayer as the grass grows stronger and taller. Also, reduce watering to nearly twice a week. Make sure to soak the soil more deeply at this period.
STEP 6: Mow the Lawn:
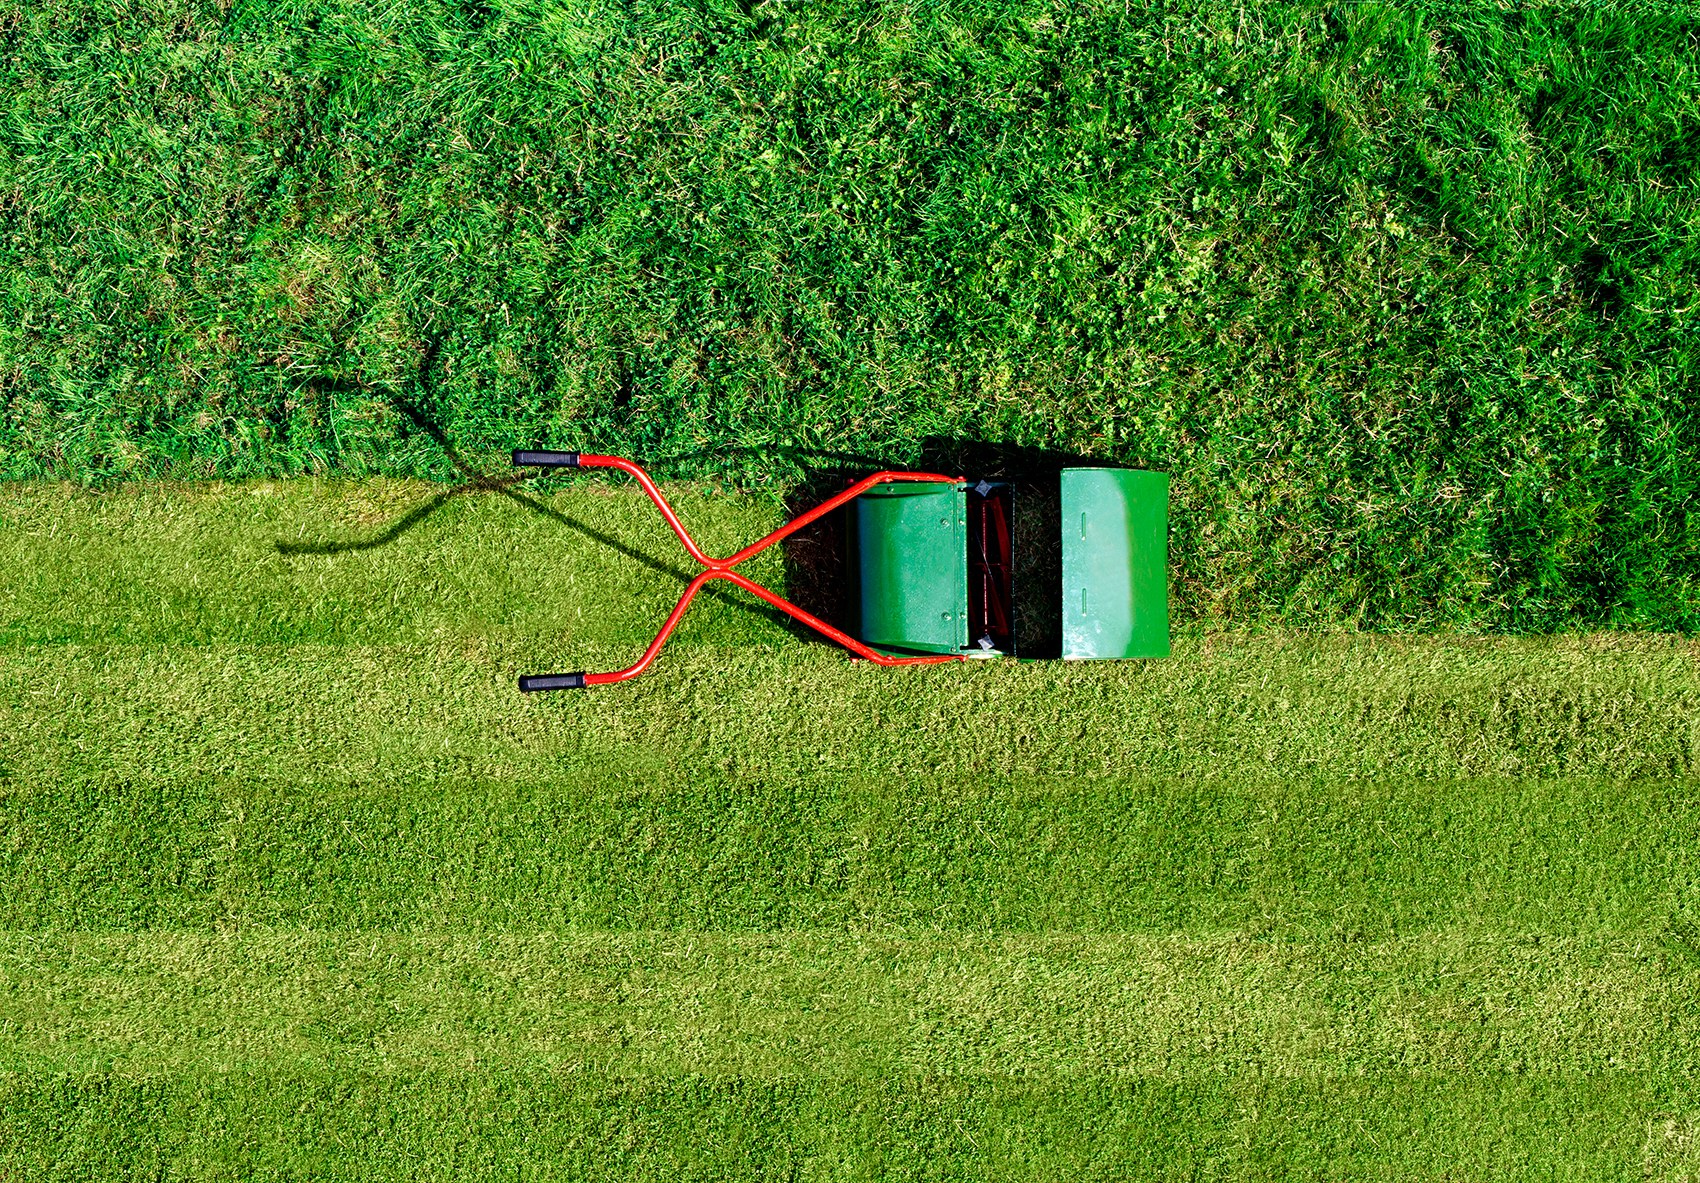
Cut the grass when it reaches 5 to 8 cm. Use a sharp lawnmower’s blade to prevent the tearing of the ground.
Taking Care of Your Lawn is Important…
Congrats! You have done the job of creating a lush green garden on your own! To keep your lawn looking amazing and green, maintenance should be done at regular intervals. Clear off the debris, stones, and clutter. Avoid foot traffic on the fresh grass as possible. Consider using a regular lawn fertilizer after 7-8 weeks.
Want to say something? Please let us know by dropping your comments in the comment box given below.

0 Comments.