


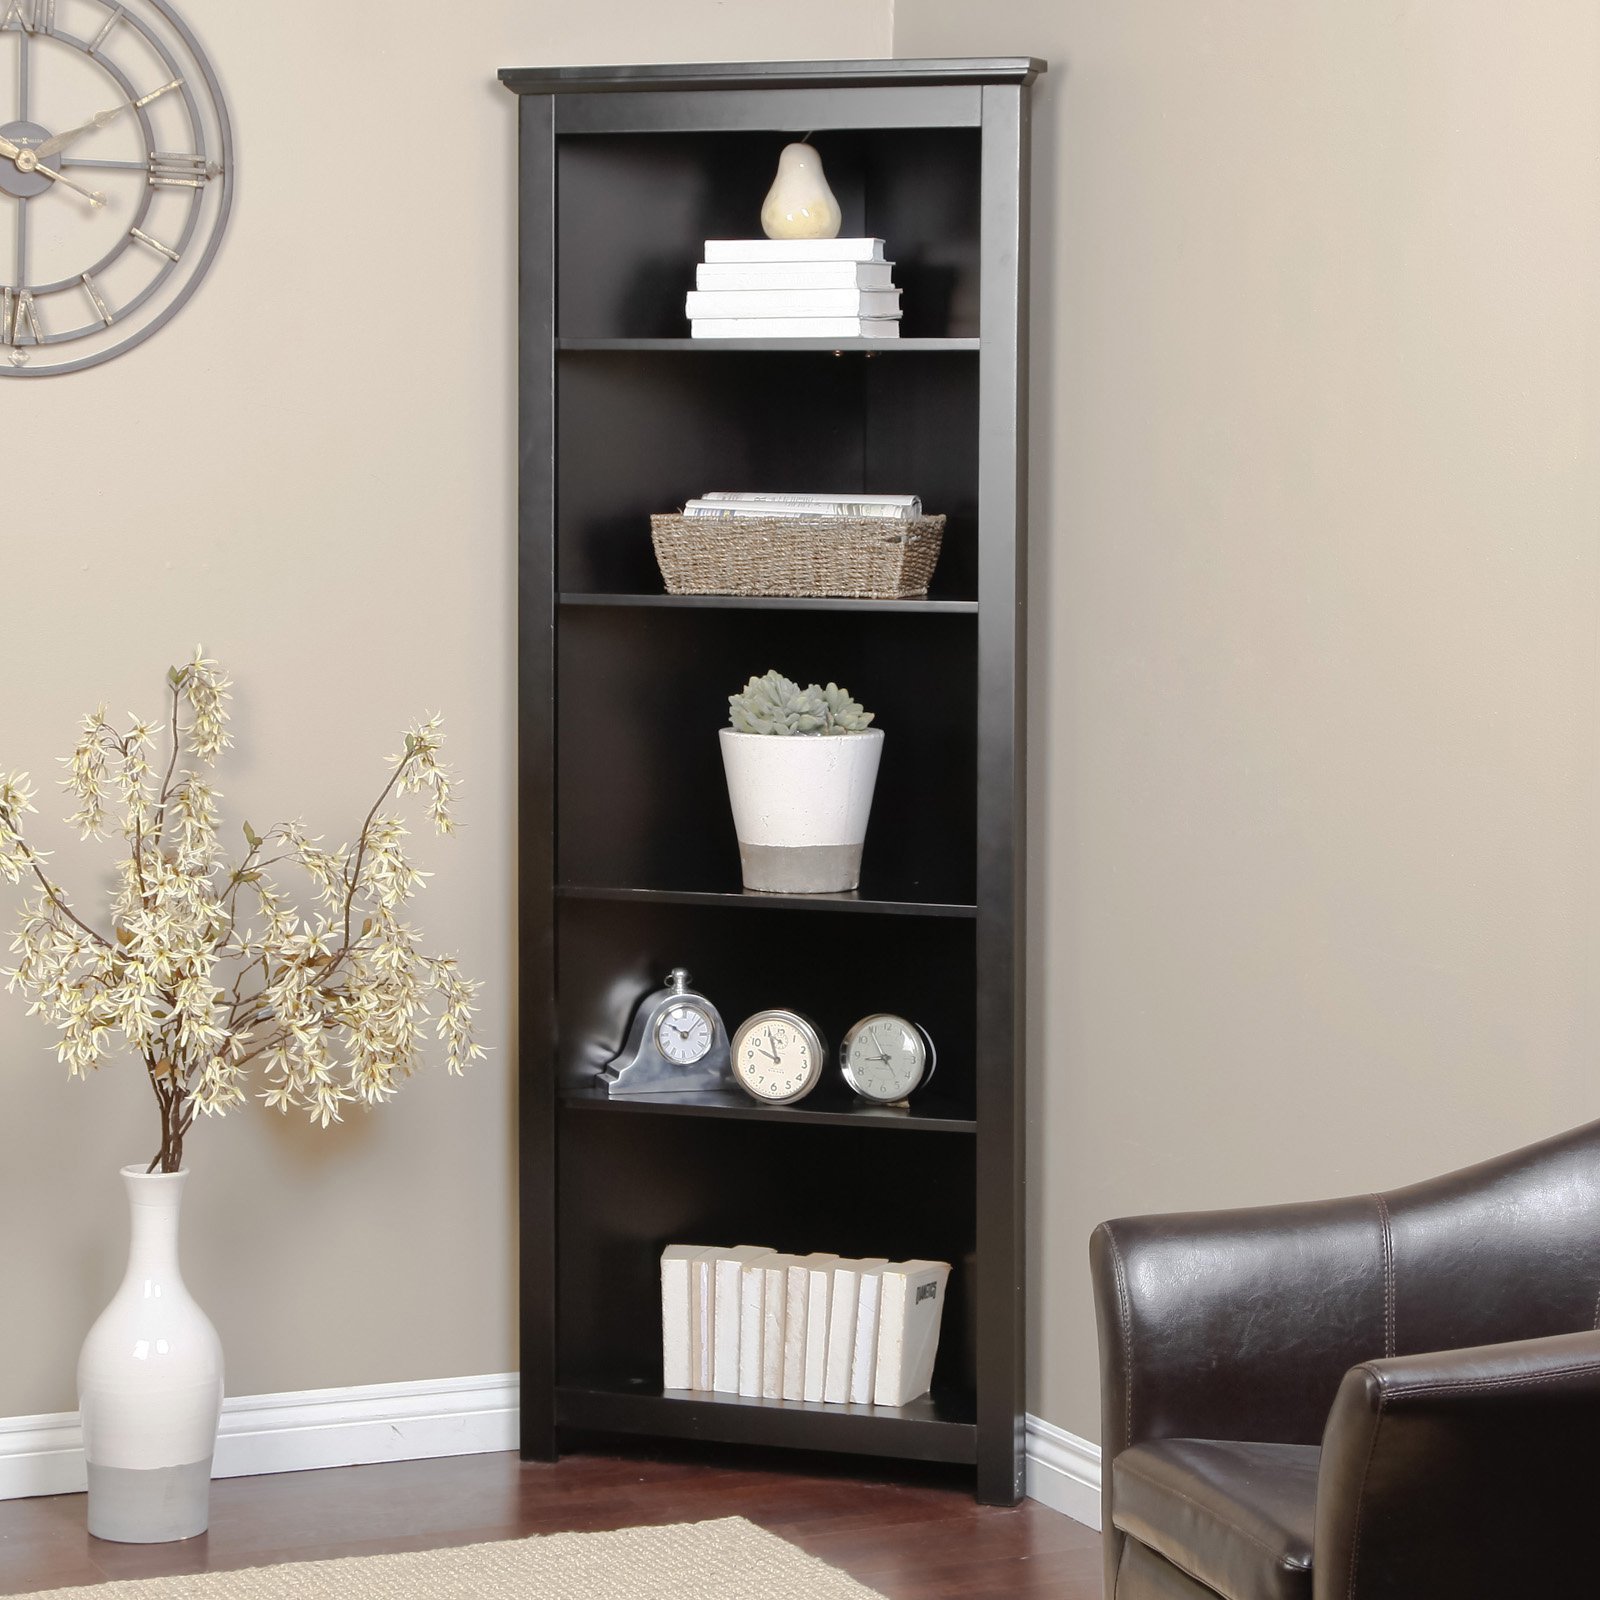
Small corner shelf is not only convenient but also adds to the aesthetics of your room. In short, they are functional as well as decorative. They let you store so many things like magazines, newspapers, books and other things.
And good thing is that you can make them at home, and that’s too on your own. Yeah, you can make beautiful corner shelf yourself.
All you need to follow some simple DIY steps given below:
But first of all, get your tools ready…
- Saw (circular)
- Drill
- Miter Saw
- Drill machine
- Tape Measure
- Hammer and Nail Set
THINGS YOU NEED…
| Materials | Quantity |
| 1″x2″ Board (frame material) | 1 |
| 1″x3″ Board (front shelf trim) | 1 |
| 3/4″ Plywood (shelf top) | 1 |
| 1/4″ Plywood (shelf bottom) | 1 |
| Wall Anchors (for mounting) | 2 |
| Finish Nails | Handful of them |
Make a Cut:
Firstly, make a plan on the board for the cuts. It can be rough as the saw can consume more woods, thereby changing the dimensions. Therefore, draft it out using a pencil.
Cut Out the Shelf Trim:
Use 1″x3″ Board for cutting out the front shelf trim. Make sure to make a cut at 45-degree angle. Cut out other two trims in the same manner from the same board.
Cut Out the Shelf Top and Shelf Bottom:
As you have cut out the side and front trims, it is time to cut out the bottom and top for your corner shelf. Make a mark over 3/4″ Plywood at 45-degree angle. Make sure it looks like an angle. Therefore, draft the cut with a pencil. Cut it using a circular saw.
For making a shelf bottom, make a mark over 1/4″ plywood. The process will remain similar. This way, you will have two “triangle” for the top and bottom of the shelf.
Assemble the Frames:
After a bit of carpentering, you will end up with two tops and three trims. It’s time to assemble them. First of all, take the shelf bottom and nail the side trims over it (from the left and right). Afterward, nail the front trim to the unattached endings of the side trims. It will look like a triangle. The shelf top will be attached once the rest of the structure will be nailed to the wall. Make sure to leave two holes each of the trim for the shelf top.
Sand and Paint the Shelf:
Sand the shelf surfaces and edges lightly to remove marks. To beautify the shelf, apply a wood stain using a brush or a clean cloth. Apply it in the direction of the grain and rub it in well. Make sure to cover all parts of the shelves. Leave it for some hours so that it can be dried up.
Nail the Structure to the Wall:
Determine at which height you want to install the corner shelf. Once it is decided, drill four holes—each wall will get two. Have someone to hold the structure while you are nailing it to the wall.
It’s time to assemble the top of the shelf. Place it on the top of the structure and fasten it with a screw.
Bottom Line:
So your corner shelf is ready. It is easy to make. Make sure to have all things and tools in place before you start the work. However, don’t hesitate to call a handyman if you stuck in the middle of the process.
What do you think? Share your opinion with us by commenting below!

0 Comments.