


Now you can have a Cat Tent House built at home. That is too without spending dollars on it. You might have come across a lot of DIYs but every single of them lack specific steps, and thus here you can get what you were looking for.
The cant tent to build is as easy as setting up a wildcraft tent. All you need is a T-shirt, some wire hangers and a piece of cardboard and 5 minutes of patience and it will result in a nice and a cute cat tent.
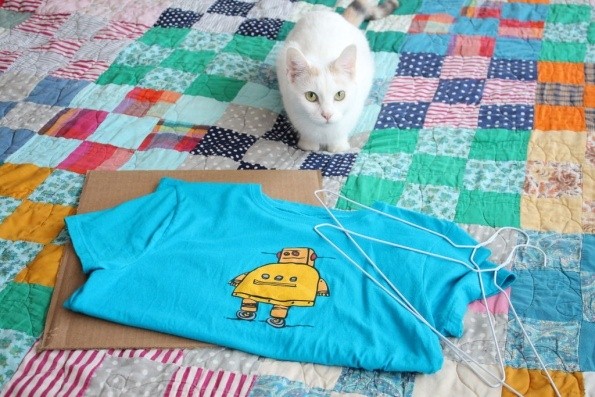
STEP 1: Things you need

• A cat (for sure)
• A medium t-shirt
• a 15 x 15-inch piece of cardboard
• two wire hangers
• tape
• safety pins
• Something to cut the hangers with and help bend them
STEP 2: Cut the Hangers
You will need to cut both squiggly ends. You can twist and then cut but again it is your choice.
STEP 3: Shape of Hanger = Cardboards
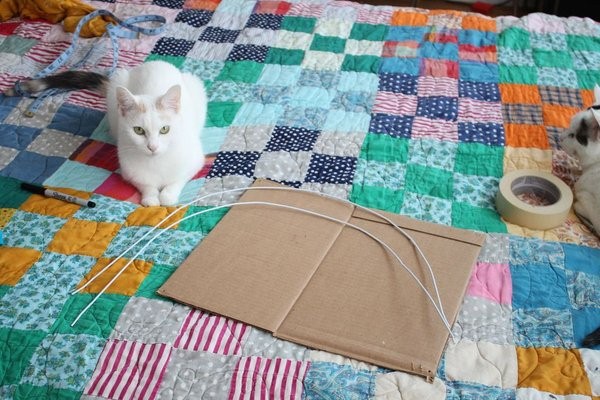
You will have to give the hangers a shape like it has been given in the picture. A slow twisting will give it a smooth curve and pretty uniform too. You would need can to graceful curvatures that go from one corner to another on the piece of cardboard.
To bring more stability, you can tape around all the edges for more stability.
STEP 4: Punch In Hole in Each Corner
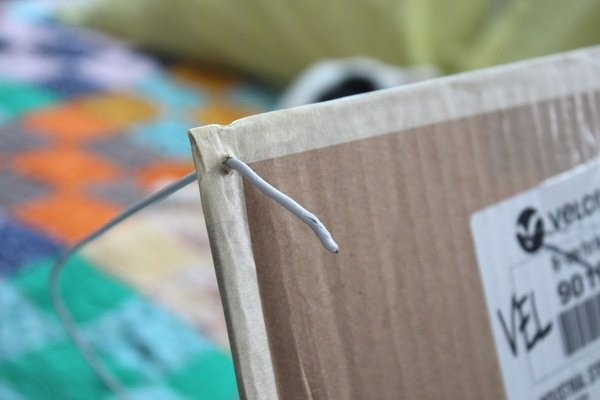
You will need to punch holes in all the 4 corners. You can use the hanger itself to make the holes. All you have to make sure that the holes are at least a half inch in from each edge and not too large for obvious reasons.
STEP 5: Tape the Two Hangers Together
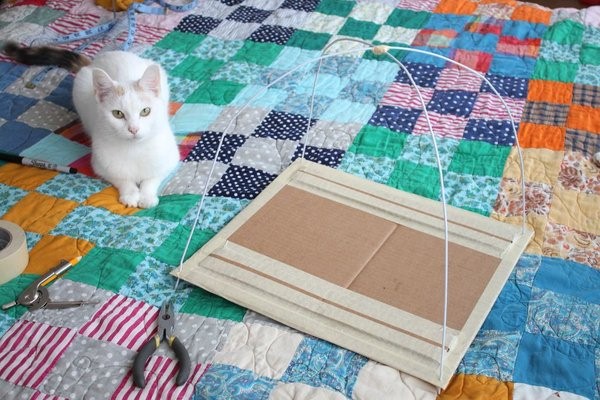
You will need to cross the two hangers in the middle and have to make sure that the ends are touching the surface on which you are working on. You will have to tape them together really well so that it does not shift. And then push the hangers in the hole that you just punched at the corners.
STEP 6: Bend the Ends and Tape Them Down

You will need to bend the protruded hangers on the other side of the board so that it can settle down on the floor. Taping the ends flat against the cardboard will give the base a nice and smooth finishing and moreover it will not snag the t-shirt when it will be pulled over.
Step 7: ITS TENTING TIME NOW
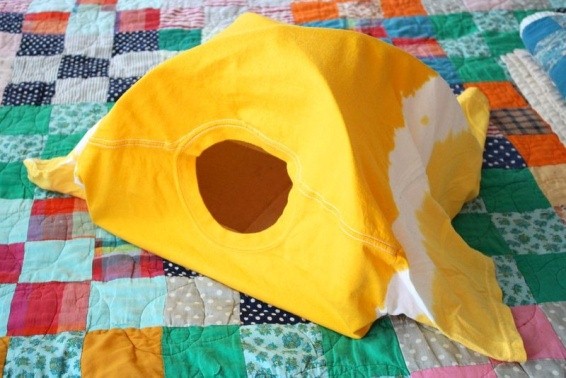
You will need to pull over the shirt over the tent frame and make the position so that the neck hole os in the front middle and the bottom of the shirt is trailing beneath the tent frame. Now time to flip the thing up in a way that the bottom stays facing you and whole is pointing upwards.
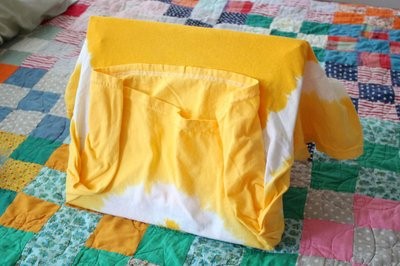
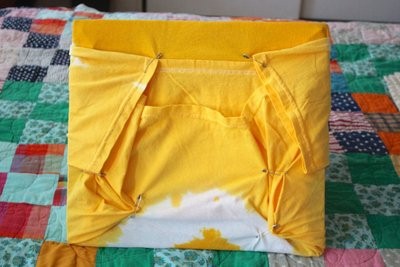
Tightly fold up the excessive part from the bottom of the shirt and tight it up so the hole is taut and pin up the bottom in place. Now pull the sleeves tight and make sure to pin up them in place too.
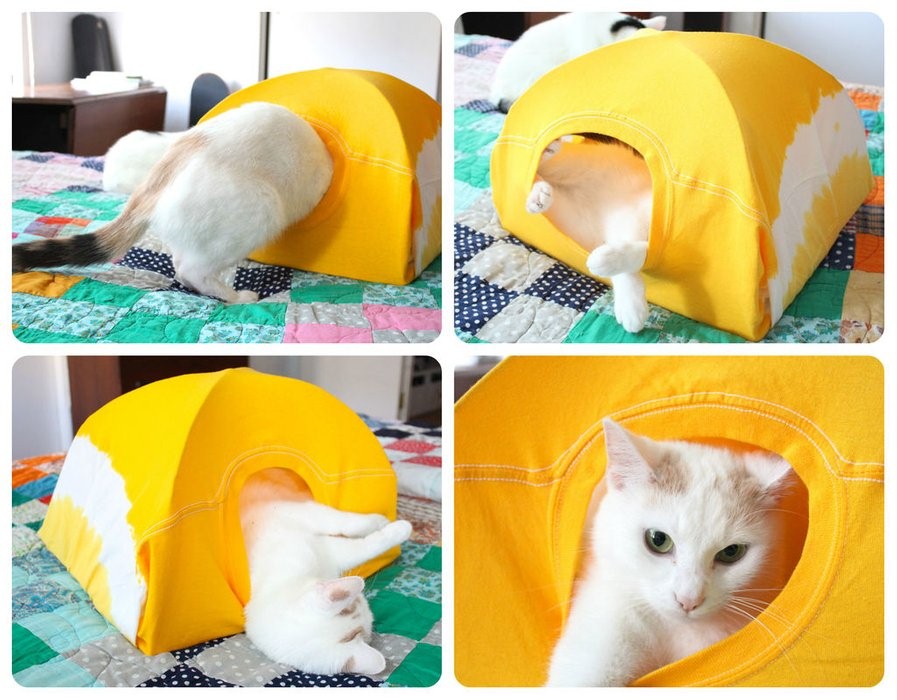
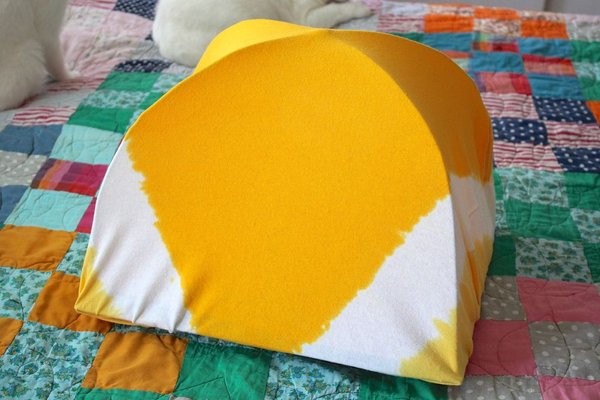
There you go. The cat tent house is ready to serve it lord. Getting from the market may not have this level of affection that this DIY may bring along. The catty would also love getting into it. It’s loveable, it is cute, and it is easy too. You can change the color of the tent whenever you want, and it is highly reusable. Nothing gets damaged.

0 Comments.