


Wabi sabi preaches that we should look for beauty even in the most asymmetrical or imperfect of objects. Nature does not have straight lines and we should take a clue from her. Appreciate beauty in the imperfect world to able to feel at peace and happy, in any situation. Let’s make a wabi sabi jar by following these simple steps. It won’t be perfect, but you will fall head over heels in love with its imperfections.
1. You will need the following
Soft modeling clay
Cork stopper
Glass bottle of your choice
Pallet knife or X-Acto knife
Small appetizer fork or toothpick
An oven for baking
A smooth table to work on
2. Start kneading the clay until it is soft and workable.
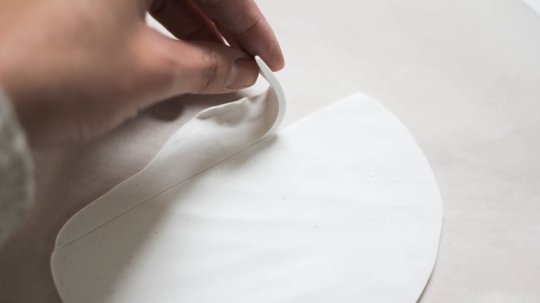
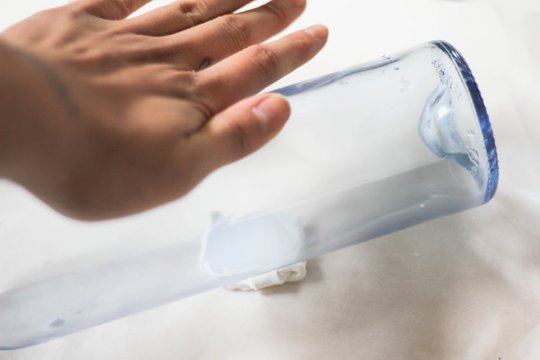
3. Use the glass bottle as a rolling pin and roll out the clay to desired thickness. For a small jar a packet of Fimo clay will suffice. Do not use a rolling pin as the clay might stick to the wood.
4. Using the knife now cut out the clay in the shape of a semicircle.
5. Keep the scraps for use later and now place the cork along the straight line that you drew with the knife.
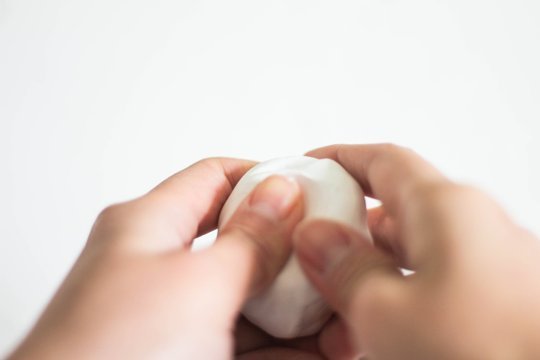
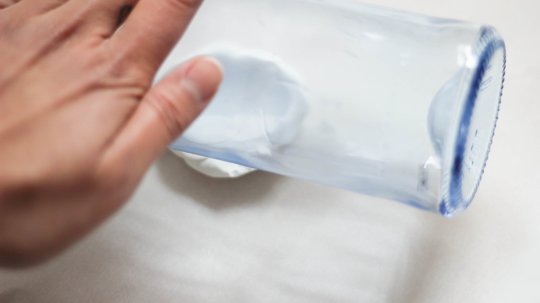
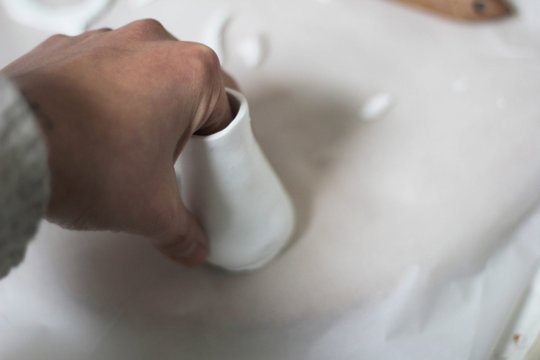
6. Wrap the clay around the cork.
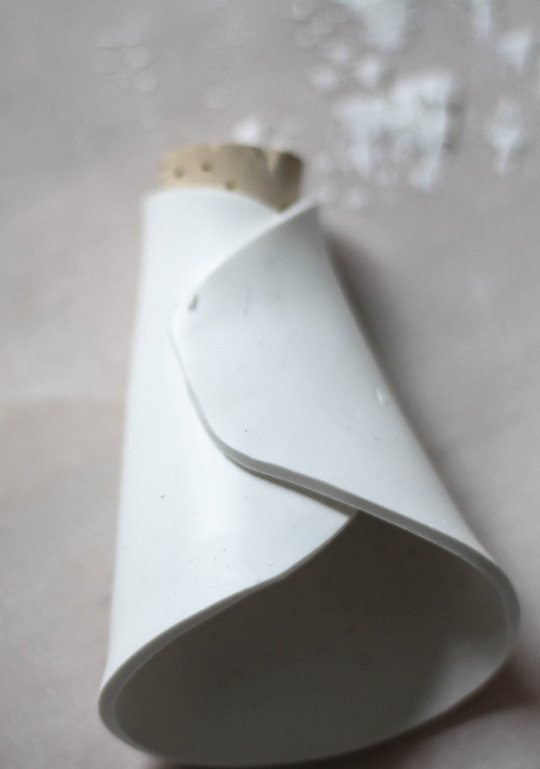
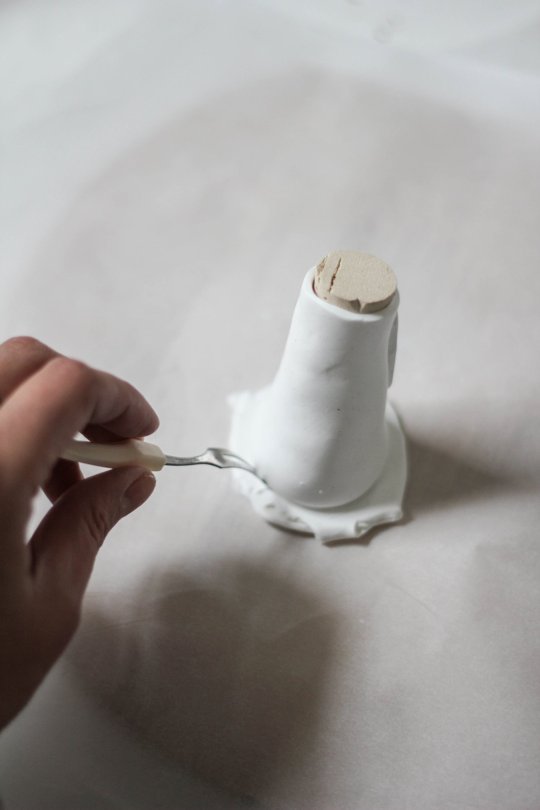
7. Unwrap the clay partially and using a fork score the region that you want to be joined.
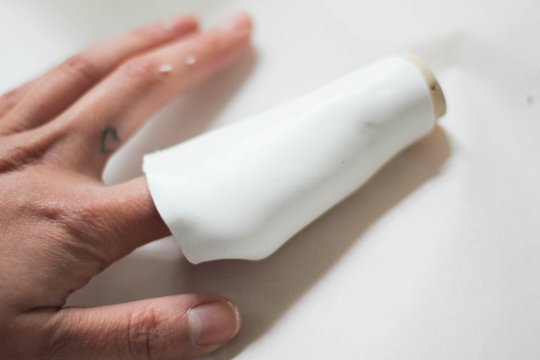
8. Now using your finger roll the shape gently until the seams blend in to each other and become bonded.
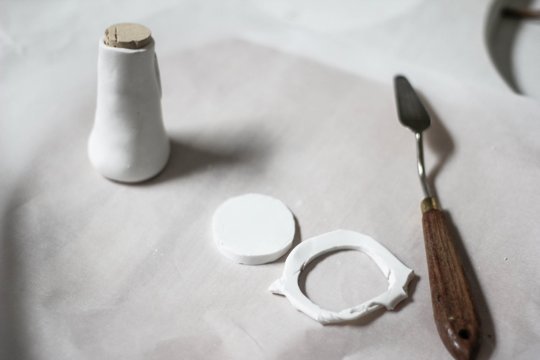
9. Now fold the base inside towards the middle.
10. Roll out the scraps using the bottle. The base should be slightly larger than the base.
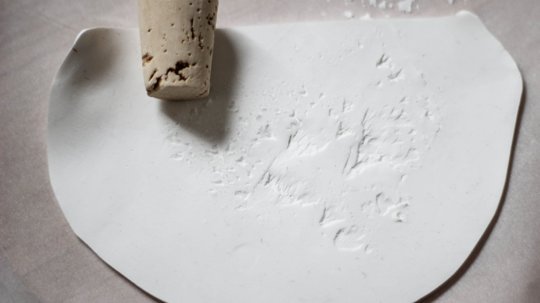
11. Place the jar on the base and make a line using the fork to determine the diameter of the jar.
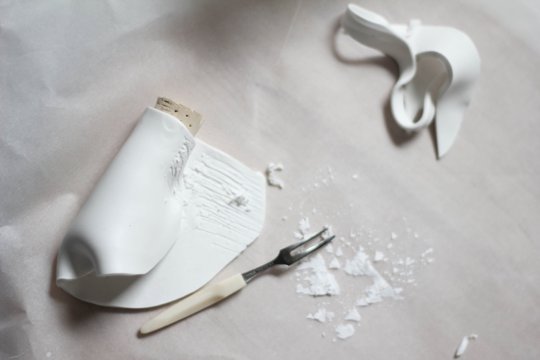
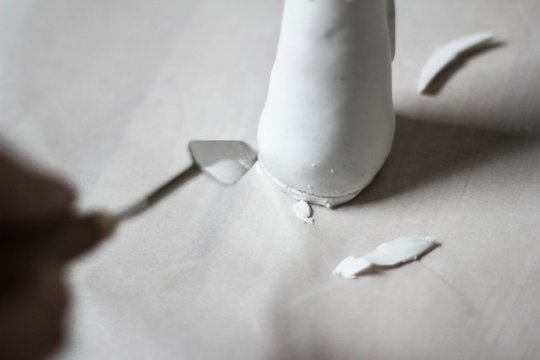
12. Using the knife cut out the excess from the base.
13. Be sure to score the bottom and the edges, before placing the jar on top of the base. Cut a way an excesses that might be showing.
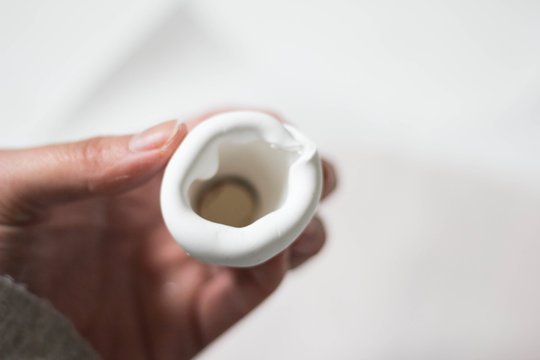
14. Remove the cork and using your finger form the mouth try and smoothen out the seams from inside.
15. Re insert the cork one last time to ensure that the mouth retains its shape. Now remove it and place the jar on a baking sheet in the oven. Bake for 15 to 20 minutes at 265 degrees.

16. Keep checking the oven for burning or over scorching. Remove the jar and let it rest to cool completely.
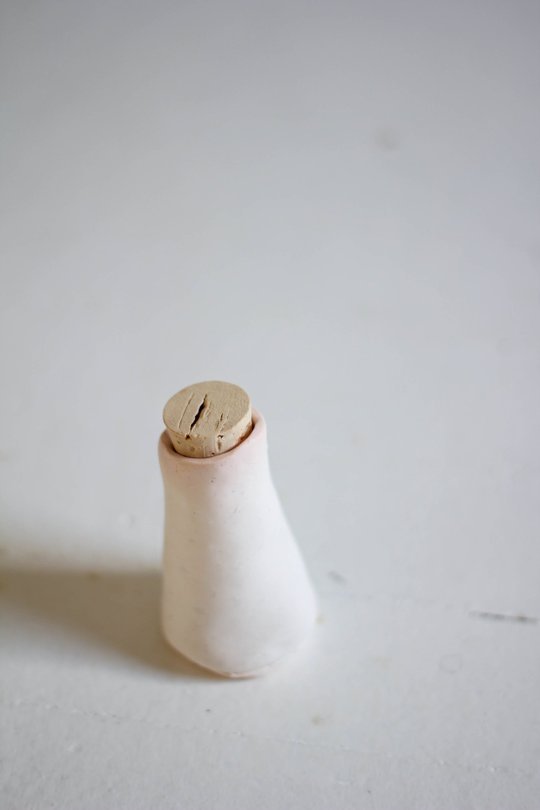
17. You have your own jar ready for storing anything you want.
If these steps look a bit difficult, you can always call upon help, call your neighbors, friends and or even call experts if all else fails.

0 Comments.