Do you have hardwood floors which are now covered with scratches?
Every time sanding it down to bare wood won’t be helpful. Hence, if your floor appears similar to a buried treasure, and you want to put it back on display, think for a refinish.
While the refinishing process is easier, it is also less expensive as compared to sand down to bare wood. Plus, it is less time-consuming. Simply, in a few hours, your floors will get a new look. Isn’t that all you are looking for?
Now, you might be wondering- how to start with refinishing process for hardwood floors?
Below is listed the step by step procedure to carry out the task with perfection. Checkout;
Step1: Collect The Right Tools
First, begin with collecting the required material. Usually, you will need:
– Edge sander
– Power floor buffer
– Industrial-grade vacuum cleaner
– Pry bar
– Pliers
– Nail set
– Flat-head screwdriver
– Power floor sander
– Stiff, wide-blade putty knife
– Utility knife
– Hammer
– Box fan
– Plastic sheeting
– Painter’s tape
– Box fan
– 4″ Chinese bristle brush
– Large lambs-wool paint/stain applicator
– Polyurethane floor sealant
With this, you must keep handy some protection elements like safety glasses, work gloves, breathing protection, hearing protection, etc.
Step 2: Preparation Ahead Of Time
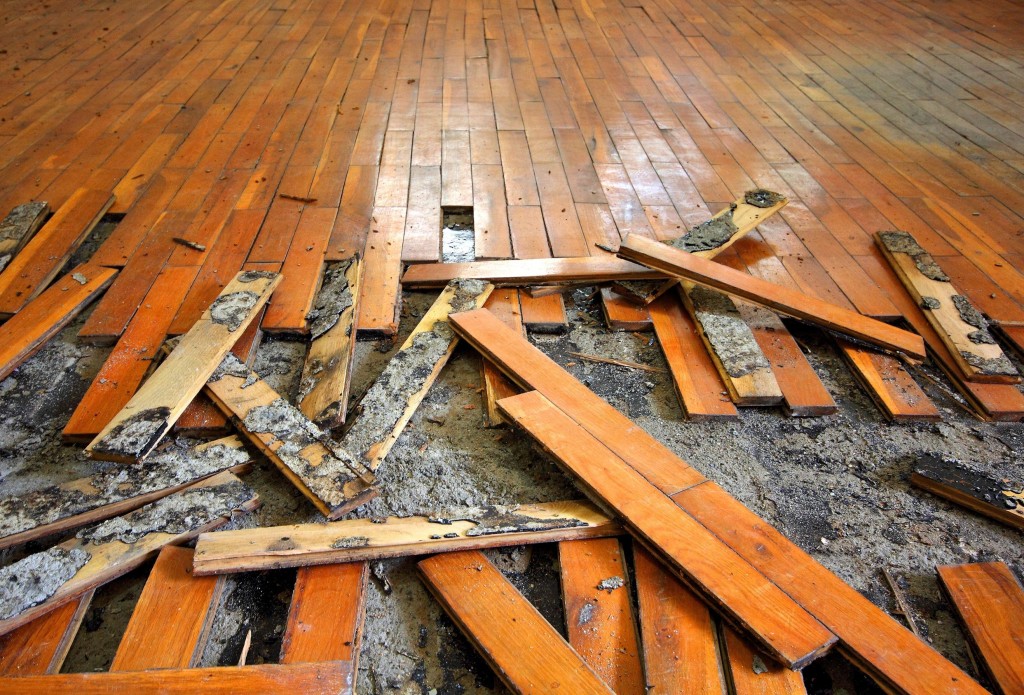
Start with removal of the existing floor and don’t worry about keeping it all in one piece. You can cut the flooring into sections; be at your ease.
With the help of a wide-blade putty knife and a pry bar remove the molding and trim. Make sure you do it very carefully.
Now remove dirt and debris from the floor and check for protruding nail heads. As sanding generates a lot of dust, isolate the room you’re working to minimize cleanup time.
Close and cover doors, door frames, cabinets, heating ducts, wall outlets, switch windows, and shelves using painter’s tape and sheet.
Step 3: Start With Sanding
Once you are done with your preparations, attach a 20-grit sandpaper pad to your sander. It is best to work in 2″ x 4″ sections. You must move in a straight path along the same direction, meanwhile keeping the sander in motion to avoid dents or grooves.
To begin sanding for another row, overlap the previous row using one plank. In between, check the sandpaper to make sure it’s not clogged. Avoid pushing the sander and let it work gradually.
Once you’ve finished sanding the main portion, bring out the edge sander. Start in a semicircular motion to avoid gouging the wood. Let the edge sander overlap the area. For those hard-to-reach areas like corners, work with a razor-sharp wood scraper and sandpaper.
Actually, you will be raising the grain of the wood with first sanding. And when you repeat the sanding procedure with 60-grit, it removes blemishes and scratches. Later, you can start on the opposite side of the room.
Coming to the final sanding, you can use a 120-grit sanding pad to the buffer, and work in an irregular sweeping motion. Start at the opposite end of the room, where you began the second sanding, and work on the entire floor.
Carefully check your floor to make sure there aren’t any areas you missed. Finally, you need to work on clean up and for this, you can use an industrial-grade vacuum. You can wipe off for final cleaning with a wet cloth.
So, it’s finally done! After you have completed sanding and cleaning, you can consider the application of a sealant. With help of a four-inch Chinese bristle brush, do it around the perimeter of the room first. After finishing the perimeter, cover the rest of the floor and let it dry for 24 hours.
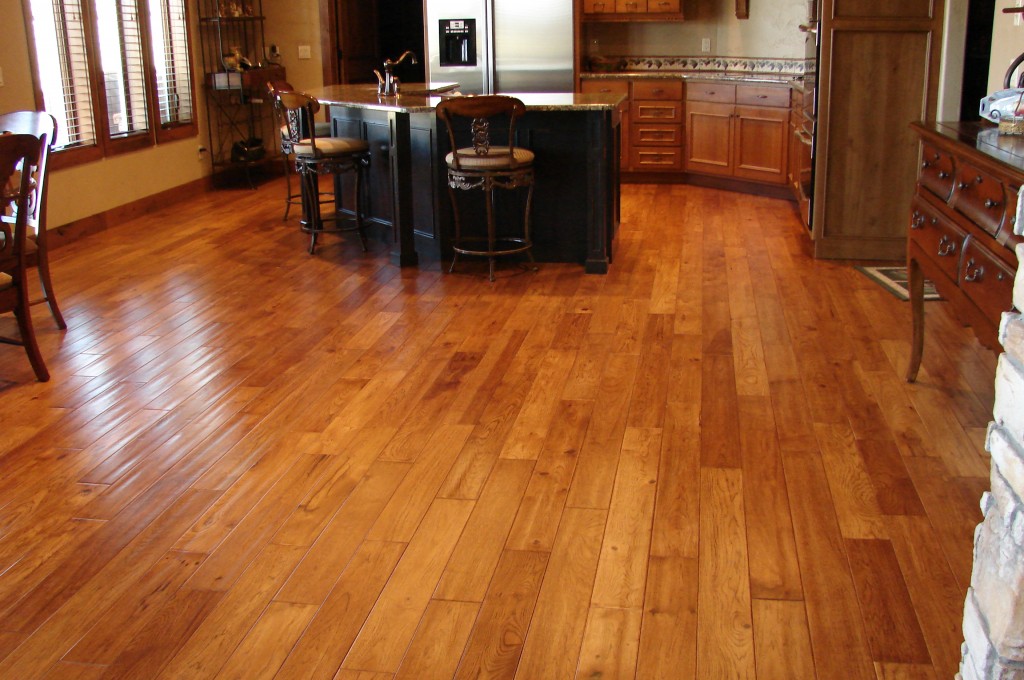
A new looking hardwood floor is there to welcome you and your guest!


0 Comments.