


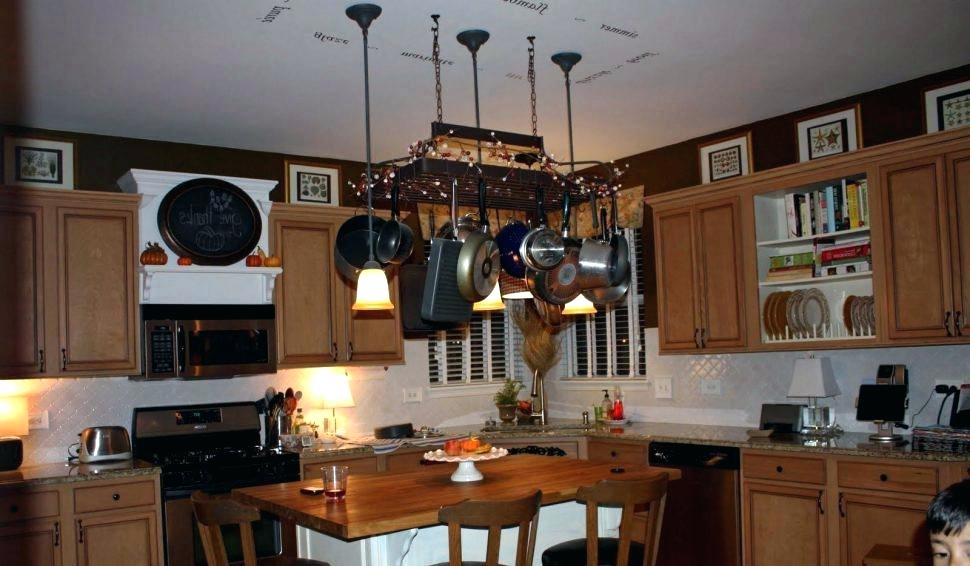
Pot Rack
Do often pots and pans add clutter to your kitchen?
Most of the homeowners would admit to this point. While sometimes they get crammed inside ovens, on other days they slip under the counter. In short, these add hassle to your cooking and baking time. Even if you have room for them at the bottom of cupboards, these occupy space near your counter when you are busy with a large dinner.
Is there any answer to this cluttered mess? Are you planning to invest in the right kitchen rack? What about a hanging pot rack? Why?
- It will help preserve the surface and life of your cookware.
• It helps to maintain the appearance of your pots and pans.
• It keeps your kitchen quieter.
• It adds ease to your routine as no more bending and awkward lifting.
• It brings a class to your kitchen.
In short, it will be a perfect addition to your space. But every kitchen is different and in case you find it difficult finding the right rack or you are running short of budget, you can go for making it over this weekend. Find here how to proceed.
What is required?
Here is all you need:
- Copper pipe (9) – 3/4 x 22-1/4
- Support rails (3) – 3/4 x 1-1/2 x 34-1/2
- End rails (2) – 3/4 x 2-1/2 x 22-1/2
- Side rails (2) – 3/4 x 2-1/2 x 40
- Chain (2) – length as desired
Choose the hardwood of your choice and file the ends of the copper pipe.
Step1: Rails preparation
Follow the image for cutting side rails and support rails. Then attach one support rail flush with the bottom edge, centered on one side rail. Use glue and #18 x 1-1/4-inch wire brads, and repeat the same for making second side assembly. You have to position the remaining support rail with one edge of the two end rails. With glue and #17 x 1-1/2-inch brads attach them nicely.
Step 2: Assemble the Base
Now it is time to assemble the base of your pot rack. Start drilling 3/8-inch countersunk holes for the furniture buttons. With glue and 1-5/8-inch screws attach them before you head off to inserting the copper pipe parts through the holes in the support rails. You can apply liquid soap or paste wax to make the passage easy. Then as per the list, cut the copper pipe as per the cut list.
Step 3: Add finishing touches
You need to apply a genuine amount of glue to the furniture buttons. Just insert into the screw holes on the faces of the side rails and fill in the holes. For the next step, drill the pilot holes for the screw eyes about 3 1/2 inches. Then drive screw hooks into the end rails.
Step 4: Time for hanging
With the help of a stud finder locate ceiling joists as per your desired location. In case of joists with 12 inches on center, drive the screw hooks into the first and fourth joists. But if the joists are 16 inches, chose the first and third joists. Drive the screw hooks until the threads are fully inserted. Later place the chain onto the screw hooks, with the ends of the chain onto the screw hooks. In the end, attach S-hooks to the copper pipes and now you can hang all your pots, pans and utensils
Such a pot rack will serve to be are a great way to add more storage to any kitchen. It simply ensures that pots and pans are always at just an arm’s reach. If you find it difficult at any time, you can always call up some professional handyman service provider for assistance. Try it out and add a big aesthetic improvement to your home.

0 Comments.