


Installing laminate flooring is quite easy, and after you’ve done it once, you will wonder why anyone ever pays professional installers to do this. Unlike ceramic tile, laminate flooring is a dry installation—no grout, no mortar, no adhesives that are set up while you’re working. And unlike solid hardwood flooring that needs to be nailed down, laminate simply snaps together and lies in place.
There are eight steps to install laminate flooring that must be judiciously followed to avoid any kind of problems with the interiors and maintain the home for a longer period of time.
Step 1: Storage of the Laminate flooring prior to the installation
Laminate flooring is vulnerable to high temperature and humidity. So, make sure they don’t get getting soggy. They must be brought into the house 48 hours before installation. The planks must be unpacked from plastic cover and air circulation must be allowed inside each one of the boxes. The pieces must be at least 10 percent bigger in size than the total square feet area of the floor because a portion is bound to get wasted while cutting the planks.
Step 2: The subfloor must be cleared and base molding removed
The subfloor must be cleaned of dirt and if the flooring is to be installed on a newly constructed cement base then it must be checked that the concrete is dry. Base molding must be removed and made sure they don’t interrupt the installation.
Step 3: Vapour barrier must be installed first
Very carefully lay out the vapor barrier from the longest wall of the room one row at a time. The manufacturer’s directions are important to be followed when two barriers are joined at a point. The instructions have to be followed to make sure if the two barriers are to be overlapped or joined with their edges stuck to each other.
Step 4: Door jambs are to be trimmed
It is necessary that the jambs are spruced. For the new flooring to slide underneath the jamb, make sure that the edges of the jamb are tidily trimmed with a saw.
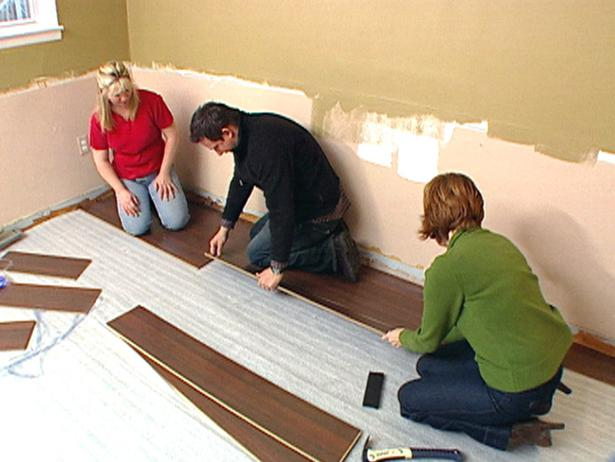
Step 5: The first row of planks needs to be installed
Planks look best when laid parallel to the longest wall of the room. The first plank should be installed with its channel towards the longest wall and pushed up against the ½ inch spacers nailed to the wall. In this case, the plank distortion is negligible, and there would be sufficient space for the planks to have air circulation through them. Later the fissure can be covered with base molding. Spacers should be placed at every 12 inches on the wall along the plank and also along the bordering walls.
Step 6: Now the main flooring is to be installed
Each plank has to be smoothly fitted along the first row and this would support the main flooring, completing it like a jigsaw puzzle. The joints of the flooring should be wobbled to install subsequent rows of planks. Every time a new row has to be installed, six to eight inches need to be equalized so that the plank-end joints don’t look ruled like a line.
Step 7: The last plank needs to be installed
The last plank usually needs smart spruce before being fit. The edges must be neatly cut so that it fits evenly without leaving any extra space or hole. A line can be drawn along the plank side for it to be installed in between the adjacent planks.
Step 8: Threshold and base molding to be installed lastly
Wherever the flooring ends and an opening begins, for example at a door space, thresholds are to be installed. Thresholds of different sizes and designs can be installed depending on what look the flooring would acquire after that.

0 Comments.