


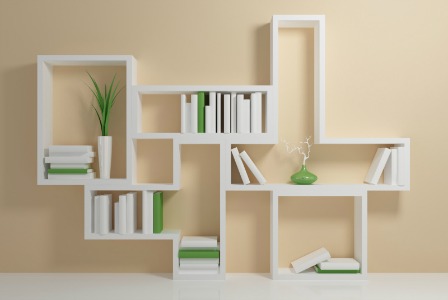
Shelves don’t just create a storage space but they also make the room look classy. When you are planning to install shelves in your home for kitchen area or just to enhance some book space for your mini library, the first thing you need to check is the material which you wall is made of.
 To find out what would fit in properly with your wall, you need to check whether you have a drywall or plaster. After you have decided this check if you have enough time and energy to take it up as a DIY project or you need a pro to make it fix perfectly.
The following post will describe how you can install shelves at your place in a unique but simple way. Before you start gather all the material and stuff you will need during the process to make the things work smoothly.
Materials Required for Installing Shelves
- 10″x36” wood planks for the shelves about 3/4.
- Wood screws of about 3-4 inches strong enough to hold heavy stuff.
- 6-1/2” wood screws for mounting the braces and brackets to the planks.
- Drywall anchors- plastic and metals both would do.
- Brackets, two per shelf.
- Corner braces around 6 inches long.
Tools and Equipment’s Required:
- Hammer
- Carpenter nails
- Cordless drill
- Screwdriver
- Carpenter’s level
- Tape measure
- Stud finder
How to Proceed?
- Measurement
To begin with you need to find studs which are like wood beams and can bear the load. Next is to mark the boundaries of the stud on the wall where you plan to install the shelves.
Then make an exact measurement on where the shelves have to be placed on the wall. Decide for the height of the shelves and mark beneath the board with the pencil. You can even mark the placement of the studs on the board because this will later help in positioning the braces.
- Installing the Hardware
After the measurement part is done, then comes installation of the braces and brackets. If you want to put two screws in order to keep the boards intact then place the bracket where you want it to be and put a small mark for the screw and then drill it to make the screw go inside. Then just reverse the motor and remove the screw and put the bracket back to its place. Then tighten the screw with the help of a hand screw driver.
Repeat the same procedure for the other side as well to install the brackets.
Put the brackets with the stud marks you had made earlier and then insert two 6-1/2“screws to ensure they remain in their place.
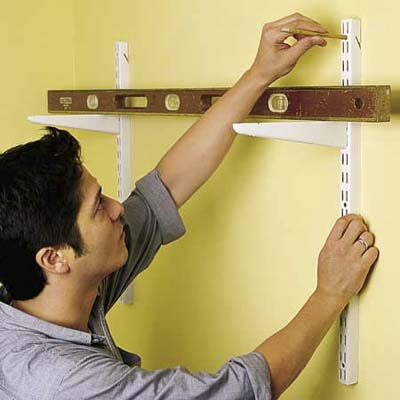
- Aligning on the Wall
Now is the time to use the drywall anchors. Since it not possible to have all the 4 studs in the appropriate places, therefore, brackets can be put above in the drywall and the braces can be put along with the studs.
The drywall anchor should be installed as per the instructions and for plastic anchors that involve usage of a hand screwdriver to drill the plastic piece in until it goes inside the wall, drill an included screw into the plastic which will break off the seal .
You can even install the plastic pieces and then put screws into the bottom-most pieces to put up the shelf. After you have screwed the shelf onto this screw, it becomes possible to even work without holding the shelf up.
At last, you will have to power drill the braces into the studs again. Also make sure you have a good drill. After putting in the big screws as well, your shelf will be secured in 8 different places with the wall.
If you do it in a perfect way then nothing can bring down the shelves and you can use it to decorate anything.

0 Comments.