


If your central air conditioner has stopped to create the cooling effect, there is a possibility that there is a Freon leak in the system. So, the most valid solution is to fix the leaking system by replacing it and recharging the unit.
 This can be a bit tricky and technical process for a DIY veteran, because of strict laws that for the use of Freon. The following blog describes the steps for repair and recharge of your AC unit.
Following are simple DIY steps to fix the Freon leak from your central air conditioner.
Find The Right Supplies
If you know the type of Freon you need for your air conditioner, you can purchase all the supplies. If you are not sure of this, you can refer to the unit mentioned over the label for the type of coolant suitable for your air conditioner.
In case it is a leak, a Freon repair kit would be best for HVAC beginners.
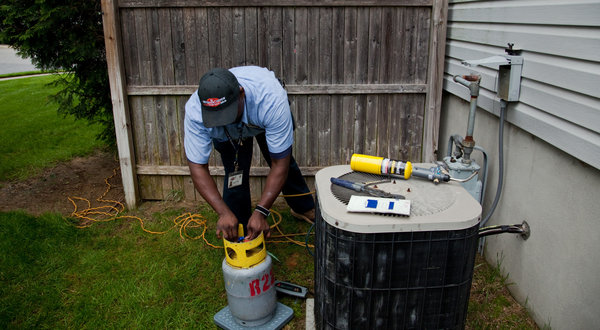
After gathering all the supplies, you should put on protective goggles, gloves, and a breathing mask for your protection.
Look For The Leak
Although improper cooling indicates some problem but you need to inspect to be sure of whether it is a leak or any other issue. For this you can attach a temperature gauge to the valves and wait for five minutes for getting the accurate reading.
You can also refer to the manual for finding the adequate reading for your unit model.
If you are sure of the leak then you may need to find the source of it as well. For this connect the gauges to your AC lines to look for low pressure issues, if any. If the low side pressure is under 65psi, then there are chances of a leak. There can be leaks in the pressure lines and joint connections. After finding the source of the leak, you can carry forward with the repair.
Using The Repair Kit
Next step is to make use of your Freon repair kit to fix the leak. For proper sealing of the detected leak, you have to connect the injection hose and the can of sealant with the compressor lines. Your Freon kit will come with instructions which will be of great help to you. After the hose is connected to the supply line and the sealant with the hose, make sure you hold the container in upright position to prevent any harm to the central air conditioner unit.
Prepare The System For Recharge
For this, you will need to reconnect the gauges to the system and connect your Freon container to the gauges with the help of various hoses. You will also have to reconnect the temperature gauges to the lines to get an accurate reading.
Add Refrigerant
After completing all the connections the next step is to release the valve on your Freon container as this will facilitate the circulation of the coolant in the system.
Make sure the refrigerant container is placed in the upright direction during the process.
Test Run The System
After doing the necessary fixes, run the system for 15-20 minutes for a test run. If it is running properly, you can remove all gauges and hoses.
If the problem persists, you may have to refer to an HVAC specialist for further investigation.

0 Comments.